
You never know when you might have to brake suddenly on the trail. Obstacles, floods and rivets demand precise timing and handling. Like most motor vehicles, ATVs have hydraulic brake systems that use brake fluid to transfer power from the handlebars to the brake calipers, which bind the wheels to stop them from moving. Pressure builds in the fluid until it activates the caliper piston. This simple system can run afoul after weeks of rough riding as air seeps into the brake fluid, making it harder to stop.
Bleeding the brakes gets rid of the air to maximize stopping power. It involves draining the brake fluid and forcing out the excess air before refilling it with fresh brake fluid. Learn how to bleed ATV brakes to service your vehicle like a pro.
How to Bleed ATV Brakes Manually
Follow the steps below when you need to bleed your ATV brakes.
-
Prop the vehicle up with a jack.
-
Remove the tires using a wheel nut tool.
-
Locate the brake fluid reservoir cap. It’s usually black with two screws bolting it in place.
-
Use an impact driver to loosen the screws and remove the cap.
-
The fluid is held in a plastic container. Use the recommended brake fluid to fill it up to the maximum level.
-
Pump the brake several times by hand to force brake fluid through the lines.
-
You can have someone engage the brake while you handle the fluid bleeder valve screws or try doing both at once.
-
Put a bucket under the brake fluid bleeder valve on the first wheel.
-
Use an 8mm wrench to open the bleed valve and engage the brake 80 percent of the way to drain the fluid into the bucket.
-
Retighten the bleeder valve.
-
Release the brake pad to force air into the calipers and open the bleeder valve to release the air. Repeat this process.
-
Repeat the last three steps three or four times until all the air is released. You’ll know you’re done when there are no air bubbles coming out of the bleeder valve with the brake engaged.
-
Repeat this process for all four wheels and the rear brakes. When you’re done, tighten all the bleeder valves.
-
Replenish your braking fluid and retighten the reservoir cap.
-
Reattach your tires and test your brakes and braking pressure before your first ride.
NOTE: You should only bleed your ATV brakes if you feel comfortable performing maintenance work and have the required tools. Follow the instructions in your owner’s manual for specifics related to your make/model. A Polaris may feature different specifications than a Honda.
You can also purchase a brake bleeder kit to assemble everything you need. It includes a hand vacuum pump, hoses, bleed screw adaptors and a fluid reservoir bottle for catching the fluid.
The entire brake bleeding process should last 30 to 40 minutes.

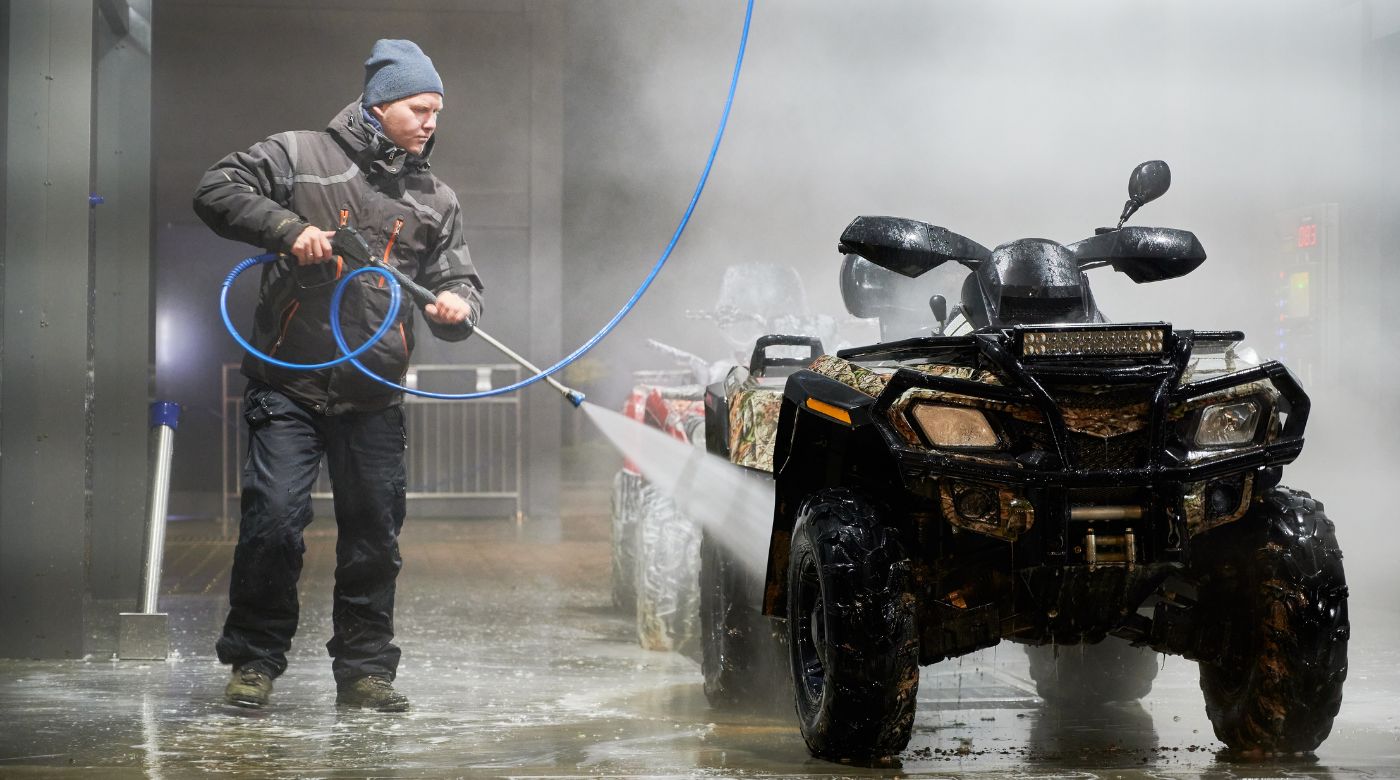
Source: Gawlik Creations/Shutterstock.com
When to Bleed ATV Brakes
You should bleed your brakes every time you change your brake fluid or pads or service the braking system. Replace the pads when they appear worn, have worn down unevenly or are a quarter-inch thick.
Bleed the system if your stopping distance increases or the braking fluid pressure drops. If fluid levels remain low after a refill, you could have a leak in the braking system.
Aggressive riding can overheat the braking fluid, causing it to burn off. Bleed the system once a month during busy riding sessions. The fluid is also vulnerable to temperature changes. It can absorb moisture from condensation, spreading rust and debris. Replace your brake fluid at least once a year, ideally at the start of the season, which also means bleeding the brakes.
ATV brakes generally last between 20,000 and 80,000 miles. Excess braking, towing, rough terrain and steep drops will wear down the brakes faster than usual, requiring more frequent bleeds.
Have a professional inspect the braking system after 20,000 miles and every 5,000 to 10,000 miles afterward to stay on top of potential issues. Replace the brakes or pads as stopping power decreases instead of waiting for them to fail.
Handling Brake Issues on the Trail
Few situations are scarier than losing braking power when you need to stop on a dime. Once air gets into the brake lines, your stopping distance will increase.
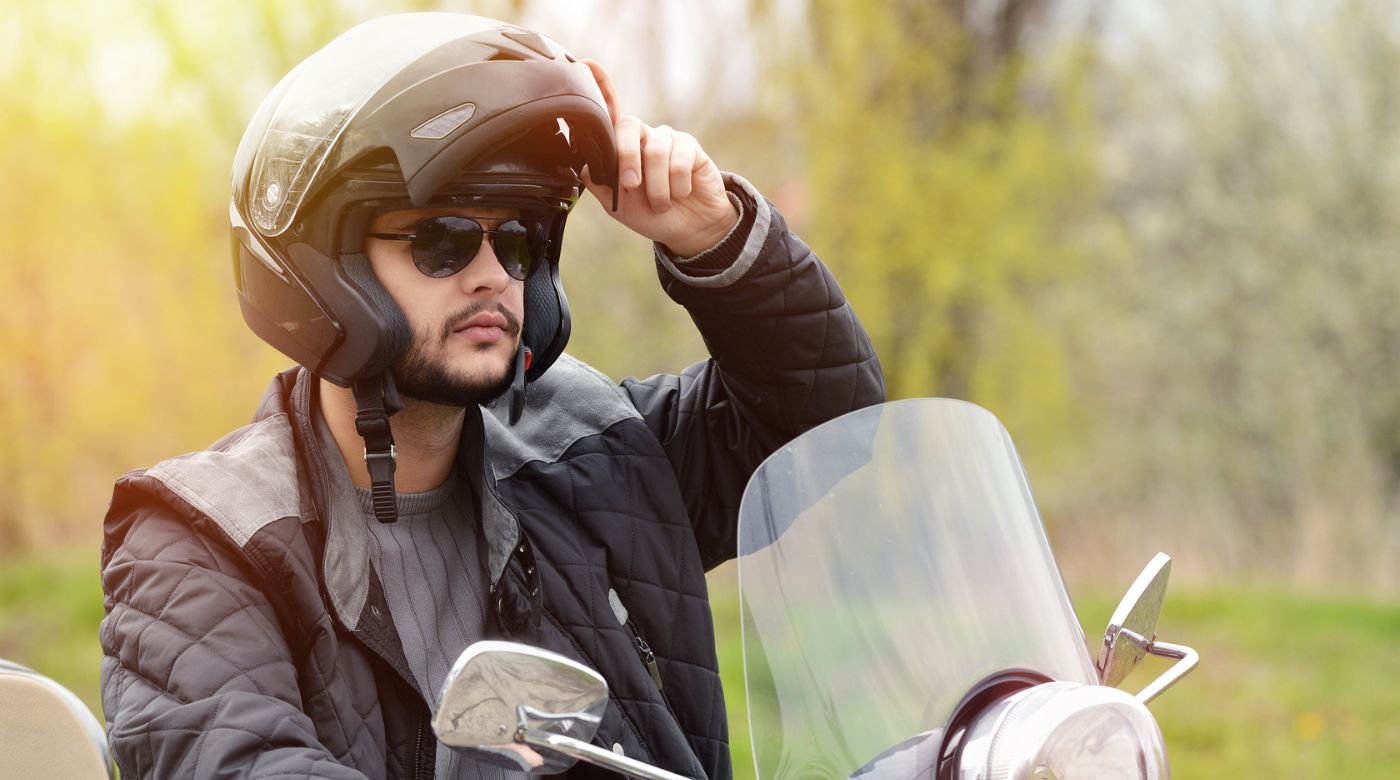
A collision could send you over the handlebars if you can't stop. Wear the proper ATV riding gear, including a full-face helmet and elbow, knee and shoulder pads, to protect yourself from falls and serious injury.
If your brakes give out, you’ll need to act fast. Consider driving around the obstacle to avoid getting thrown or damaging your ride. Head toward an incline to let the ATV come to a stop naturally. Use off-road communication to coordinate with your companion wirelessly to keep your hands on the handlebars and your eyes on the path. They can help you troubleshoot braking issues as you ride.
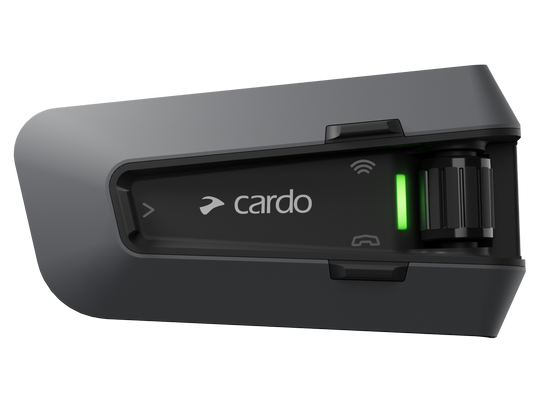
Use Off-Road Communication to Signal Hands-FreeNothing can be scarier than losing control of your brakes. You’ll need to communicate with your companion to avoid a collision without taking your hands off the handlebars or eyes off the trail. That means no hand signals or turning to get your friend’s attention.
Pair your helmet with the Packtalk Edge ORV to connect automatically to your riding buddy via Dynamic Mesh technology up to a mile away. You focus all your attention on your vehicle’s performance and coming to a safe stop, knowing you can reach your friend if things go south instead of waving them down or shouting over the purr of their engine.

Source: alfredhofer/Shutterstock.com
Bleed Your Brakes for a Safer Ride
Your brakes keep you and your ATV out of harm’s way, but they need near-constant care and attention as they age. One rough ride or heavy haul can permanently affect your ability to brake. Monitor braking performance when you ride and bleed the system every time you service it to stop when it matters most.