Your helmet is the single most important piece of safety gear you own as a motorcyclist, so it’s important to take care of it. And whether you just flew through a swarm of gnats or your helmet’s lining is starting to get a little funky, one part of proper motorcycle helmet care is cleaning your helmet when it needs it.
In this article, we’ll give you a quick overview of how to keep your motorcycle helmet clean. The process is a relatively simple one that experienced and novice riders alike can do at home with some standard household supplies, and the same process can also be used for other powersports helmets like ATV helmets.
Why Clean Your Helmet?
The visor and outer shell of a helmet come in contact with all kinds of dirt, grime and debris. From insects to soil to rainwater, your helmet takes it all—and one look at a well-used helmet will tell most people why cleaning is so necessary.
The inside of a helmet can get pretty gross as well, since it’s constantly in contact with your skin, hair, sweat and breath when you’re riding. Thus, a good helmet cleaning should include both the inside and outside of the helmet.
1. Assemble the essential motorcycle helmet cleaning supplies.
First, get the things you’ll need to clean your helmet. A typical list includes:
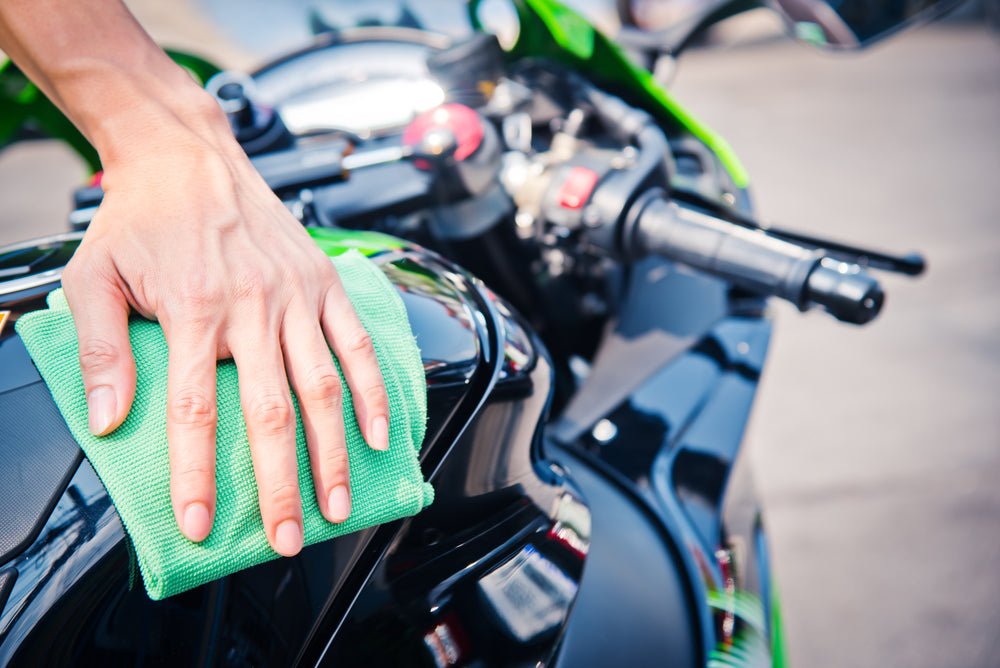
- Microfiber cloth
- Gentle, non-abrasive cleaner such as baby shampoo
- Toothbrush
- Warm water
You can also use one of the many motorcycle helmet cleaning products available on the market. However, note that there are some things you should not use to clean your helmet because they can damage it, including:
- Solvent-based cleaners such as rubbing alcohol
- Petroleum distillate cleaners such as mineral spirits
- Ammonia-based cleaners such as glass cleaner
Set up your helmet in a place where you won’t mind splashing some water around, like a kitchen or garage. You’ll also want to find the owner’s manual for your helmet and keep it at the ready since some steps in the process work differently for every individual helmet.
2. Take off any helmet accessories.
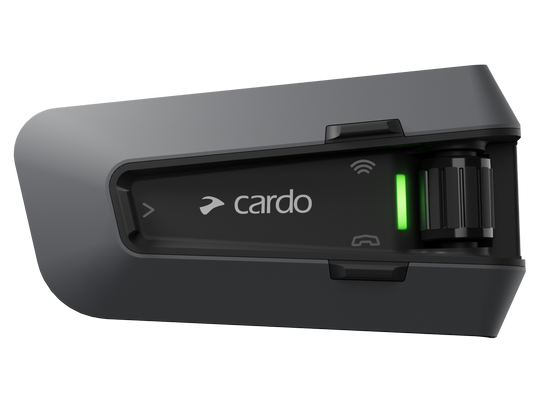
Remember to remove any external devices or accessories you’ve added to your helmet, like a motorcycle helmet intercom system or motorcycle helmet speakers. (If you have a Cardo Systems product, you can find out how to safely remove it in your Cardo owner’s manual.) If you’re washing an ATV or dual-sport helmet, remove the peak as well.
3. Remove and clean your helmet’s interior lining.
If your helmet has a removable liner like most helmets today, all you’ll need to do is pull the lining and cheek pads out (taking note of where everything goes) and wash them. You can either use your washing machine (on a delicate cycle, using gentle detergent), or you can hand wash them using warm, soapy water. Let your pads and liner air dry rather than putting them in the dryer.
If your helmet’s liner is not removable, you’ll have to wash your helmet all at once. Using a tub that’s big enough to submerge your helmet in, mix up some warm water and baby shampoo and then dunk your helmet for several minutes at a time to allow the water and soap to penetrate the lining. Scrub gently with a microfiber cloth, rinse thoroughly and then let it air dry.
4. Prep and clean the outside of your helmet.
First, put a warm, damp microfiber cloth on top of your helmet and leave it there for at least 30 minutes to help loosen any caked-on gunk. Then, use another damp microfiber cloth to gently wipe down the helmet’s exterior until it’s clean. Use a toothbrush to reach hard-to-get places and, at the end, apply a coat of automotive wax to your helmet to help keep it clean in the future.
5. Clean your face shield, sun shield and vents.
Your face shield and sun shield can also easily get fouled with dirt and grime, so take the time to gently wipe them down with a soft cloth. Don’t scrub them with anything abrasive, as you might scratch the visor.
If you have a pinlock shield, take special care to read the manufacturer’s cleaning instructions, as they can be easily damaged during cleaning if you’re not careful. If your helmet’s vents are clogged, give them a quick blast from an air compressor and a good cleaning with a cotton swab.
6. Put it all back together.
When you’re done, reassemble the pieces of your helmet. Make sure that you’ve thoroughly dried the nooks and crannies with a microfiber cloth—you don’t want moisture accumulating inside the helmet.
If you’ve been putting off cleaning your helmet, find an hour or two on a weekend and get it done. The process will go more quickly than you expect, especially if you put on your favorite music or TV show—and you’ll have a sparkling-clean helmet waiting for you when you’re done.


