How to Clean a Motorcycle Engine: Essential Supplies
Here’s what you’ll need for this project:
- -Air compressor and hose OR canned compressed air
- -Soft bristle brush and sponge
- -Bucket of warm soapy water-
- -Motorcycle degreaser product
- -Microfiber polishing cloths
- -Plastic bags
- -Duct tape
- -Chrome polish
- -Rubber seal protectant
1. Air It Out
Begin by blasting loose dirt out of your engine with compressed air. You can use either a can of compressed air or a tank-style compressor with an air hose.
2. Cover Up/Take It Off
Some parts of your engine are vulnerable to damage from water. You’ll need to either cover these parts or remove them when cleaning your engine case.
Parts you should remove include your airbox and air filter. Meanwhile, you should cover your spark plugs, ignition coil, fuse box and exhaust using a combination of plastic bags and duct tape. Finally, remove any covers or fairings that prevent you from accessing your engine fully.
3. Release the Grease
Now it’s time to get the grease off your engine. Take your motorcycle degreaser and read the instructions carefully and then apply it to your motorcycle engine case as directed.
For most degreaser products, you’ll apply it and then leave it on for between 15 and 30 minutes. Try using the downtime to make sure all your gear is in good order, like charging your Bluetooth motorcycle headset and making sure your helmet is clean and free of cracks.
When time is up, remove the cleaner according to the directions. Usually, this will mean spraying it with a hose on a medium or high pressure level.
Experience a New Breed of Motorcycle Bluetooth Headsets

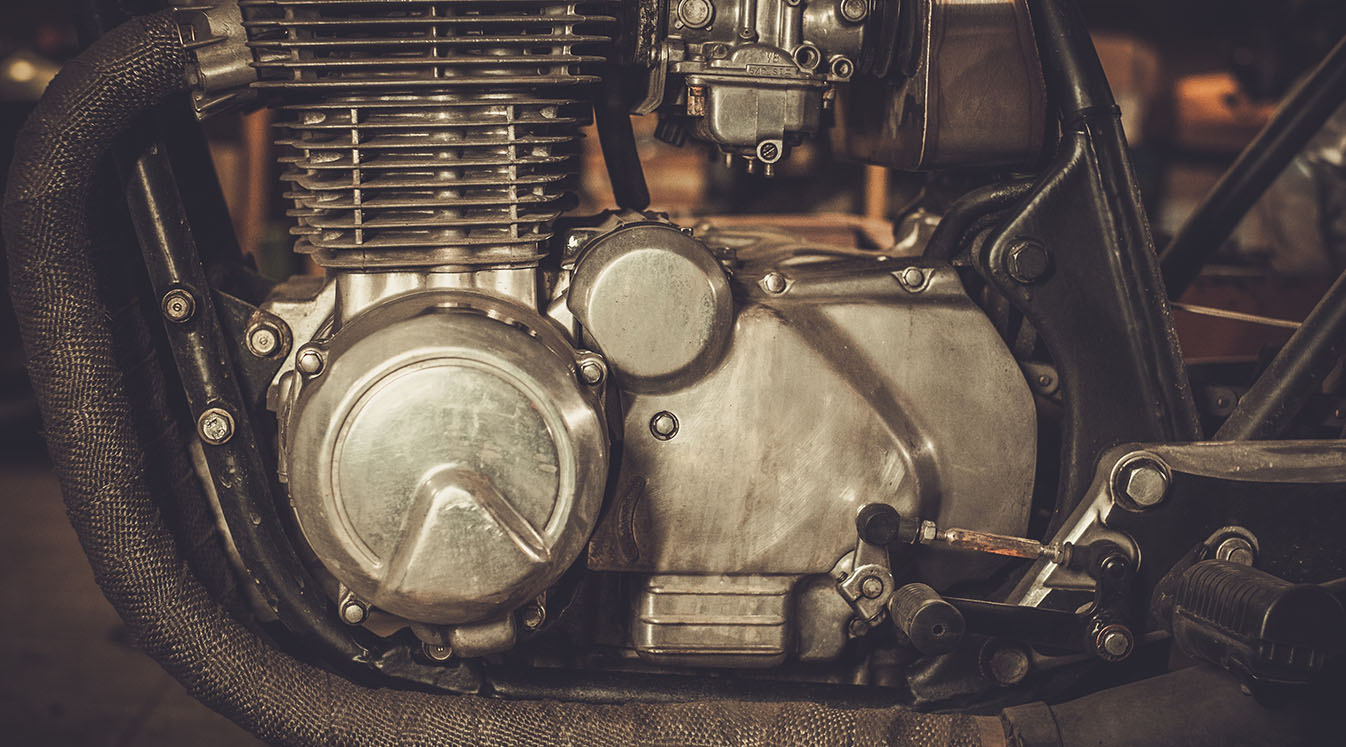
Source: Warakorn Buaphuean/Shutterstock
4. Nooks and Crannies
Next, you’ll get into the small areas and tough stains that you might have missed earlier. Grab your soft scrub brush, a sponge and a bucket of soapy water.
Your goal is to remove oil or road stains that survived your initial cleaning. Using your cleaning tools, gently but firmly attack the stains until they’re gone. At the end of this process, give the engine another rinse with the hose.
5. Time to Dry
Use your microfiber cloth to blot dry the water off the engine. Then, use your compressor or compressed air one more time to remove any remaining water droplets from narrow or hidden areas. Give your motorcycle at least 30 minutes of air drying time before you move on to the next step.
6. Apply Seal Protectant
We’re getting there! Next, it’s time to apply some protectant to your motorcycle’s rubber seals. Use the rubber seal protectant product according to its directions, applying it to areas like fittings, hoses and plastic shields. This will help keep your engine components clean and protected for longer.
7. Polish It Off
If you’ve got a Harley or something else chromed-out, this will no doubt be your favorite part. Take some metal polish and apply it to the chrome parts of the engine according to the directions on the bottle. Use another microfiber cloth and give the chrome a few minutes of buffing until it shines.
8. Ready to Roll
Remove any plastic bags you attached to sensitive areas and reattach any parts that you removed from your bike. Now you have a beautiful looking engine! The final step is to fire it up for a few minutes and let it run. This will help evaporate off any water remaining around the engine.
Shop the Latest in Bluetooth Motorcycle Helmet Systems

Source: PATIWIT HONGSANG/Shutterstock
Is your next project a full clean-up of your motorcycle? Head over to our easy motorcycle cleaning guide to get our best tips. Meanwhile, take in our full lineup of Cardo motorcycle bluetooth headsets to find out what’s hot in motorcycle communication.


