Whatever your reasons for riding, there’s one thing that’s for sure: You’ll need to learn the basics of how to drive a motorcycle first. Here, we’ll show you the most important elements of driving a motorcycle for the first time.
Learn the Right Way
We should start off by saying that the best way to learn to ride a motorcycle is under a professional’s supervision. The Basic RiderCourse (BRC) from the Motorcycle Safety Foundation is the industry standard for a good reason: It’s a safe and effective way to get a handle on the fundamentals of riding a motorcycle.
The BRC is widely available throughout the country, and many states require or encourage new riders to take it as part of how to get a motorcycle license. The hands-on instruction that the BRC offers is incredibly important for getting the feel of how a motorcycle actually works. However, it’s helpful to go in knowing a little bit of the theory of how to drive a motorcycle, so let’s explore the basics.
One more important note: When discussing anything about the “right” way to ride a motorcycle, there will always be disagreement among riders, especially when it comes to how to teach beginners. The guidance in this article is compiled from a wide variety of expert sources, but certain points (such as whether new riders should use their front and back brakes simultaneously) are still debated among motorcyclists. We want to stress again that the best way to learn is always to take a motorcycle safety course that will give you practical, hands-on instruction in the fundamentals.
Gearing Up
Before you begin, there’s a key phrase you should get familiar with: “All the gear, all the time.” This is the motorcyclists’ saying that means that every piece of motorcycle protective gear is important in protecting your body, and that you should be wearing as much of it as possible any time you ride.
Gear is just as important for a beginner who’s just starting to figure everything out as it is to an expert who’s been riding for most of their life. Even taking a spill in a parking lot can cause serious injury or death if you’re not wearing motorcycle protective gear. You should at the very least be wearing a helmet any time you get on a motorcycle, and it’s much better to be wearing a full getup of motorcycle jacket, motorcycle pants, motorcycle boots and motorcycle gloves.

Mastering the Controls
First, you’ll need to understand the basic layout of a motorcycle’s hand and foot controls.
Left Handlebar
Clutch: Lever in front of the handgrip that engages and disengages power from the engine to the rear wheel.
Right Handlebar
Throttle: Mechanism built into the right handgrip that creates acceleration by feeding fuel to the bike’s engine when the rider twists the handgrip.
Front Brake: Lever in front of the handgrip that applies a powerful brake on the front wheel.
Between Handlebars
Gauge Cluster: Gauges like the odometer, tachometer and speedometer are usually clustered in the center between the handlebars.
Ignition: Typically, a motorcycle’s ignition is located in its center console near the gauge cluster.
Left Foot
Gearshift: Small lever that shifts gears in front of the left foot peg. Pushing it down puts the motorcycle in first gear. For every gear above first, you’ll use the front of your foot’s instep to push it up one additional notch.
Right Foot
Rear Brake: Small pedal in front of the right foot peg that applies a somewhat less powerful brake on the rear wheel.

Getting Started
Start in an empty parking lot or another flat, paved surface without many obstacles. Your first task will be to ride in a straight line for a short distance. Make sure the motorcycle is suitable for your height and then gently swing your leg over the side of the bike and straddle it.
- Put the key in the ignition and turn the bike on.
- Pull in the front brake as you do so and keep it engaged to keep the bike still. Gently move the kickstand up with the back of your left boot.
- Pull in the clutch lever and press down your left foot to shift into first gear.
- Release the front brake and then gradually release the clutch. The motorcycle’s engine will start to engage, and you’ll begin to move.
- Roll the throttle forward very gently as you let out the clutch. With the clutch, your goal is to find what’s called the “friction zone”—an area of the clutch’s travel in which the engine begins engaging without having let the clutch out all the way. The friction zone is where you want to apply throttle (but just a little bit for right now).
- Start riding, moving in a straight line with your feet up off the pavement. Within a second or two, you should have the clutch completely let out so the motorcycle is fully in gear.
- When it’s time to stop, begin to gently pull in the clutch and then start gently applying the front brake and rear brake simultaneously. Start before you think you’ll need to. You may not be able to accurately judge the motorcycle’s stopping distance at first.
- As the motorcycle comes to a stop, your left foot should go down first to stabilize it. Keep your right foot on the motorcycle’s rear brake until you’re completely stopped.
Did that feel awesome, or what? (It might have felt scary, and that’s OK, too!) The important thing is that now you’re riding.
Shifting Gears on a Motorcycle
Next, it’s time to learn about shifting gears. Safe and efficient shifting requires paying attention to your tachometer and even more so to the sound and feel of your bike. In fact, some starter bikes don’t even have a tach, which can actually be better for your ability to judge the bike’s RPMs using only your senses.
With that in mind, here’s the basics of shifting up and down:

- As your motorcycle starts to pick up speed, listen for the engine’s pitch to become higher. When it starts to make an almost “whiny” sound, that’s when you want to shift up. (For many bikes, this will happen between 5k and 7k RPM, but again, every motorcycle is different so it’s ultimately best to learn by listening and feeling it.)
- When you’re ready to shift, pull the clutch all the way in. Move the gear shift up a notch using your foot to choose second gear.
- Gradually release the clutch again, rolling the throttle forward slightly while your clutch is in the friction zone. Repeat the process for higher gears.
- To downshift, use the same process, but tap the shift lever down instead of up.
Shifting gears can be tough at first, so it should be one of the techniques that you devote the most time to practicing. Take the time to learn to do it smoothly without lurching forward or popping the clutch out abruptly. Notice the RPM levels that your motorcycle wants to shift at and use that knowledge to smooth out your shifting.
Using the Brakes
Most motorcycles follow what’s known as the “70-30 rule,” which says that approximately 70 percent of a motorcycle’s braking power comes from its front brakes and about 30 percent from the rear brakes. That doesn’t necessarily mean that the front brake should always be your choice, however—the two brakes have substantially different uses.
The normal stopping procedure that most beginner courses teach involves using both brakes and downshifting gradually as you come to a halt. When you’re coming to a stop at a traffic light or otherwise going for a smooth, controlled, non-emergency stop (which will be most of the time), the idea is to start applying both brakes gently and then gradually hitting them more aggressively as the bike slows.
However, it’s important to understand the different characteristics and uses of each brake:

Front Brake:
– Much more powerful
– Useful for emergency stops
– Better for braking at high speeds
– Needs to be handled gently to avoid skidding
Rear Brake:
– Much more gentle and less powerful
– Useful for low-speed maneuvering
– Helpful if you need to trim your speed during a turn
– Better in wet or bumpy conditions in which the front brake’s power can cause a skid
The faster you’re going and the more quickly you need to stop, the more you should favor the front brake. At low speeds, however, it’s often more appropriate to use the rear brake.
Finally, remember that knowing when to lay off the throttle is just as important as learning to brake. One such time is before you enter a turn, as we’ll discuss in the next section.
Get Your Favorite Jams on with Our Motorcycle Helmet Speakers

Executing Turns and Leans
Turning is obviously a skill that every motorcyclist needs, and to turn, you need to understand how to lean into a corner. Steering a motorcycle requires a combination of using the handlebars and shifting your body weight, which makes it another process that takes practice to get the feel for.
So, here are the basics of leaning and cornering:
- Before you begin a turn, start gradually reducing the amount of throttle you’re applying. Look to the endpoint of your turn. Downshift if necessary.
- Keep your eyes up and focus on where you’re going. If obstacles are present, don’t zero in your attention on them. This can actually increase your risk of colliding with them due to the psychological phenomena known as target fixation.
- Gently push slightly up and out on the handlebars at the opposite end from the direction you want the motorcycle to turn. Thus, push the handlebars on the left to perform a right turn and on the right to perform a left turn. This is called countersteering, and it’s one of the key elements of turn technique.
- Lean your body weight to the inside of the bike slightly as you enter the turn. Don’t overdo it or try to lean like a pro racer. Start with a small shift and get a feel for how the bike reacts to the changes in weight distribution.
- When you hit the halfway or two-thirds point of the turn, start adding a little bit of throttle to help you stabilize as you exit the turn and begin shifting your weight back.
- As you finish the turn, gently push the opposite handlebar that you used to enter it to straighten out. Shift your weight back to the center and you’re back on the straight and narrow.
Start with gentle, wide turns and gradually tighten the radius. Again, practice it in a parking lot until you’re truly confident—then practice another few times just because.
Other Tips for Beginners on How to Drive a Motorcycle
A few other tips for new riders that will help you stay safe and become a better rider:
– Invest in high-quality protective motorcycle gear for your entire body. Spend the most on your helmet, but get a decent-quality jacket, pants, gloves and boots as well.
– Start with a beginner-friendly motorcycle under 500 cc. Lots of fun bikes are available in this category, and their power level is more manageable for a new rider.

– Don’t try to carry a passenger or heavy luggage on your motorcycle until you’ve been riding consistently for at least a few months (preferably more). Carrying extra weight on the bike, especially the 100-plus pounds that most passengers will weigh, can dramatically alter a motorcycle’s handling characteristics.
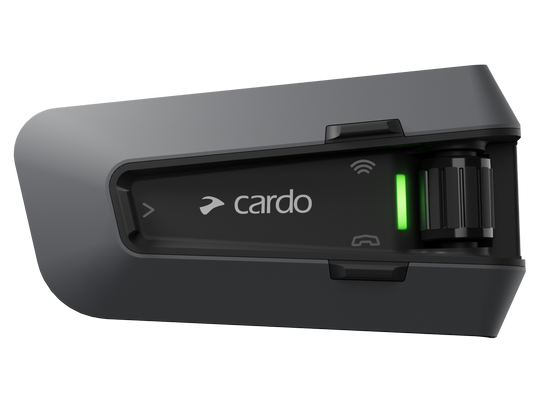
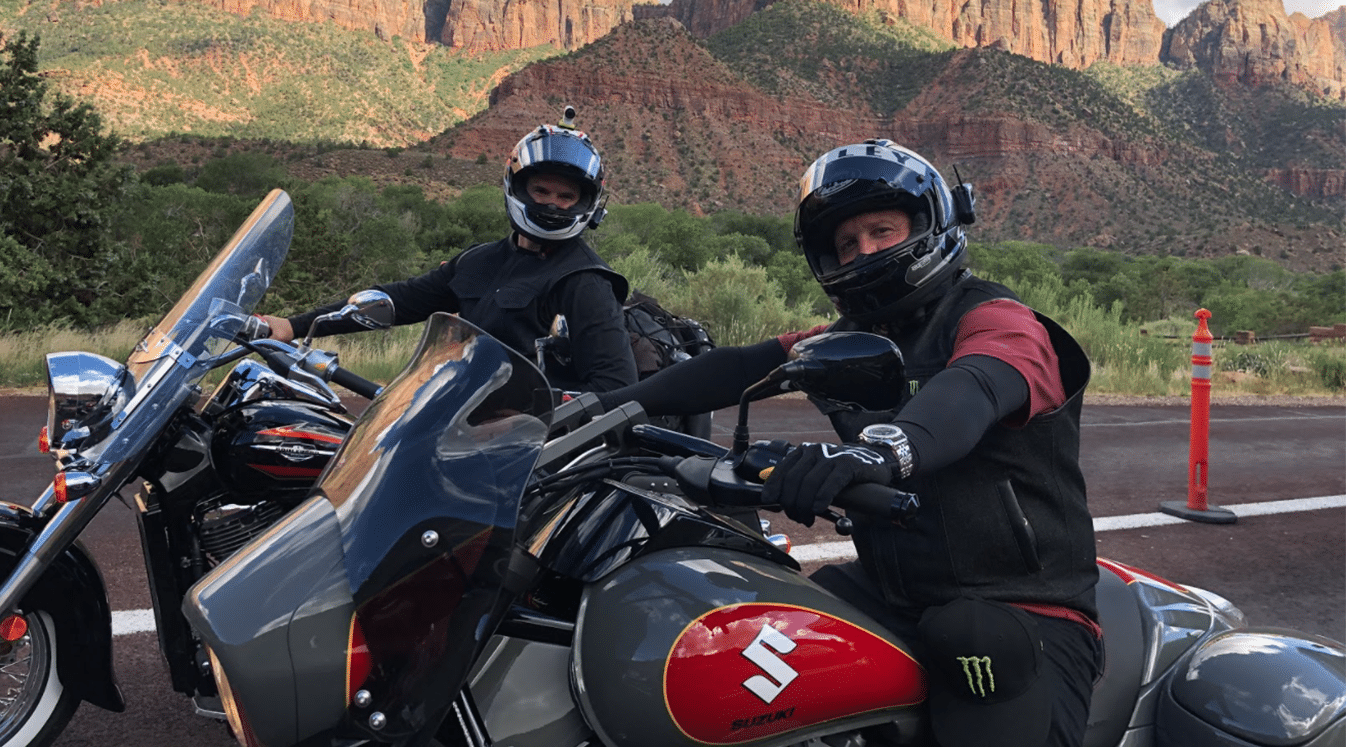
– Once you get on the road, it’s highly advisable to ride with a buddy or two. Your friends can observe your technique and help give you pointers. A Bluetooth motorcycle communication system for your helmet is a great idea for getting feedback and support on the fly, although new riders should practice riding with them in a controlled environment before they get out on the road.
Stay in Touch with the Best Motorcycle Communication Devices
What we’ve covered here today are the absolute basics of how to drive a motorcycle. Any one of these topics requires hard work and concentration to actually learn, and there’s much more to each one than we have room to discuss. Again, we definitely encourage every new rider to start with an instruction course taught by a professional. (Even experienced riders can often learn a few things when they go back and review the fundamentals!)
New riders ready to go for their motorcycle license or endorsement should check out our database of motorcycle license laws by state. And to verify your helmet is always in compliance, don’t forget our database of motorcycle helmet laws by state. Finally, to keep you in the zone with all of your communication and navigation devices available by hands-free voice command, find out why riders of all skill levels love Cardo’s motorcycle helmet speakers and motorcycle communication systems.


