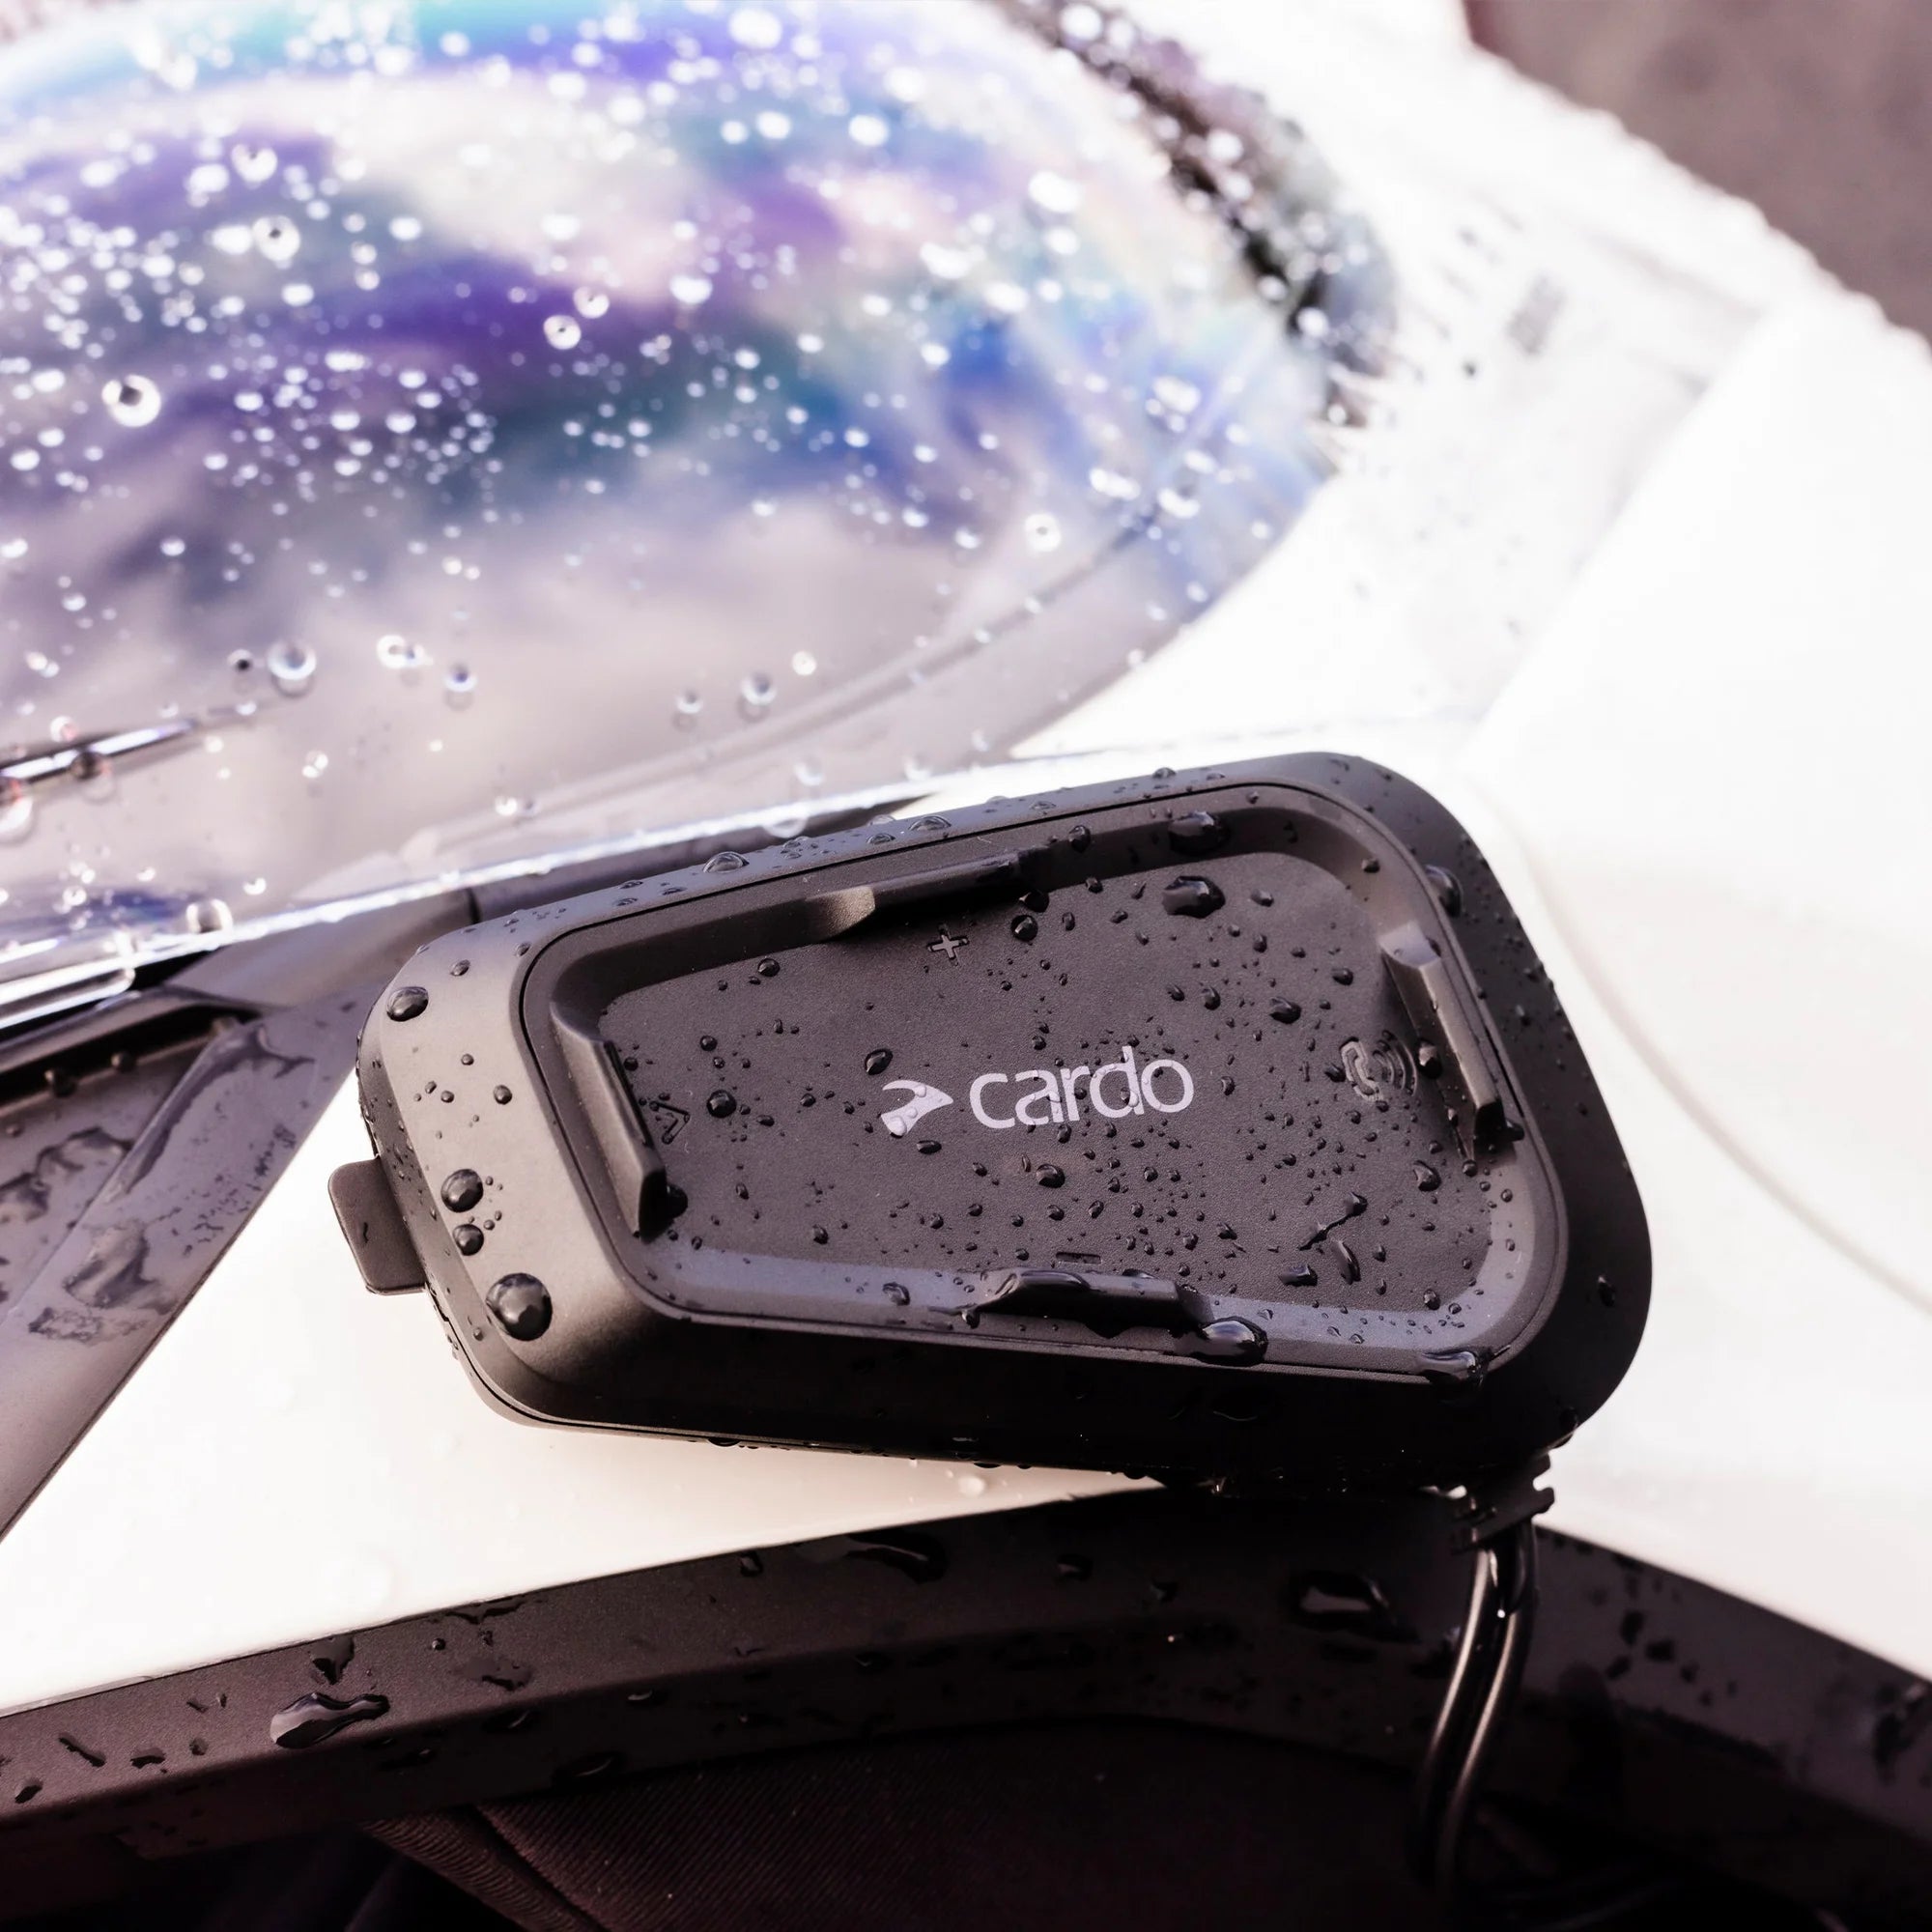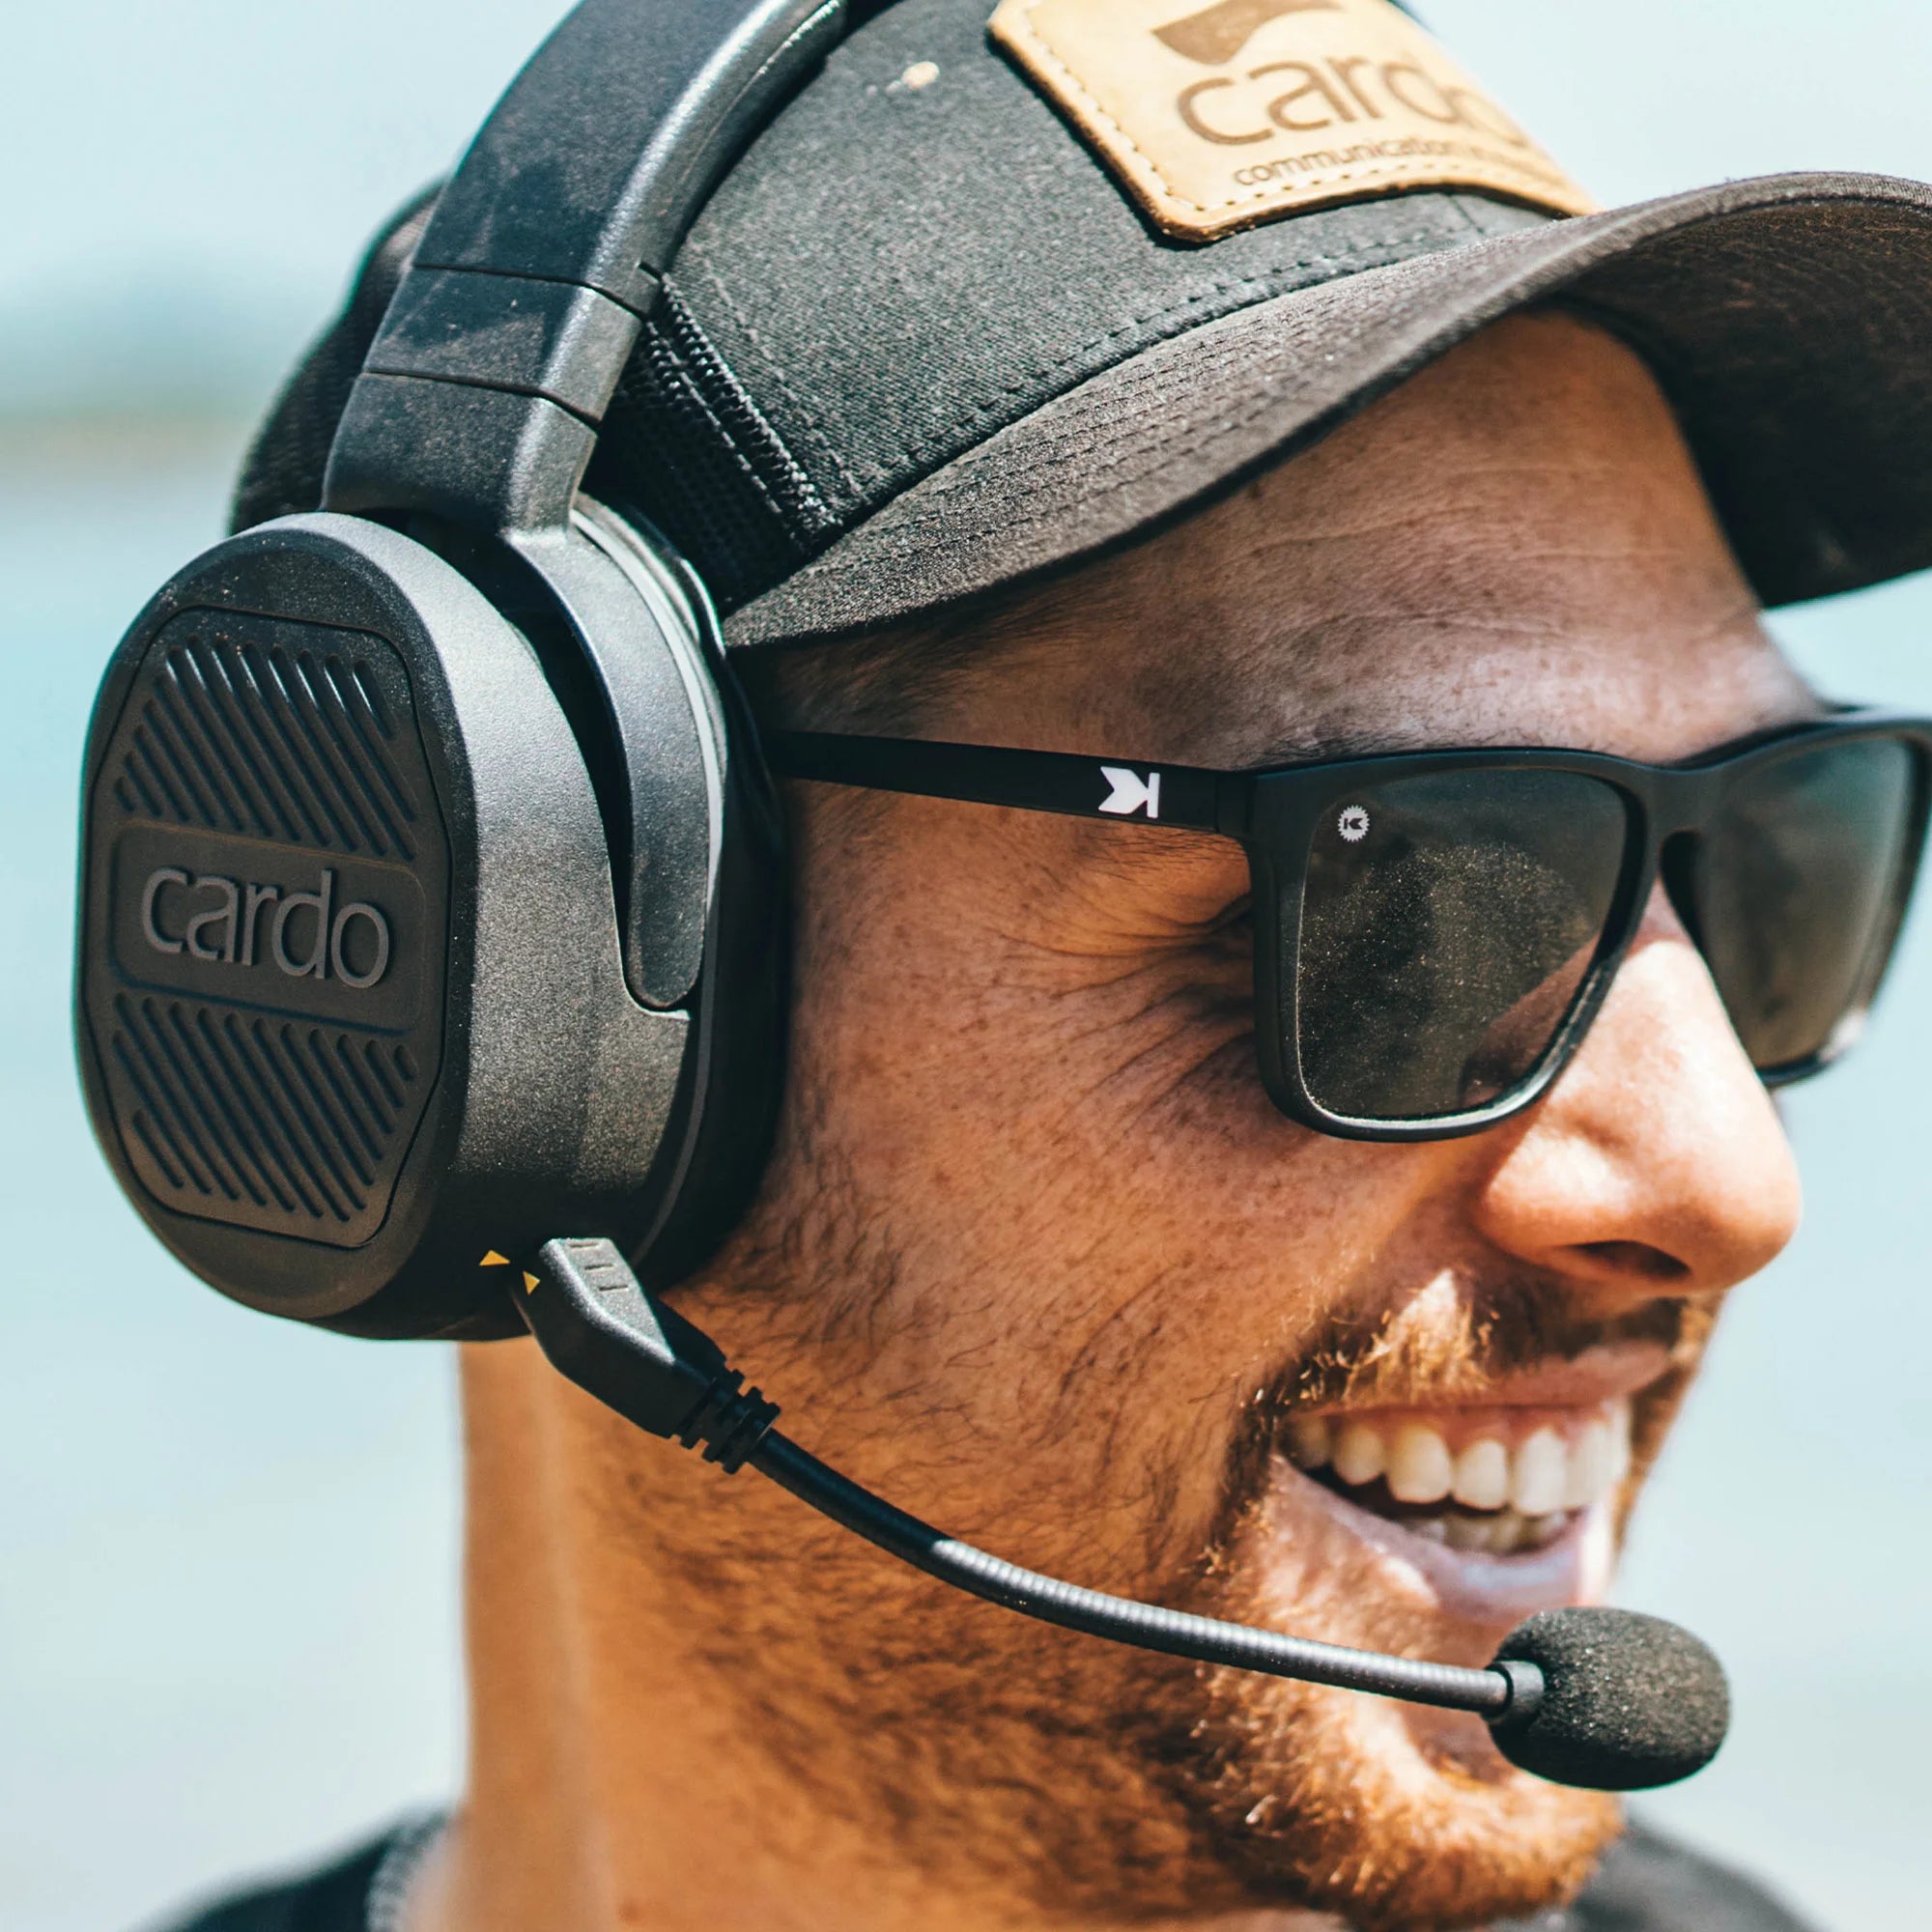


Installing a Cardo motorcycle helmet intercom takes 15 to 30 minutes with no tools required for most helmet types. Clean the ear cavities, attach velcro pads, seat the speakers, route the cable, fit the microphone, and click the unit into the cradle. This guide covers installation for the Cardo PACKTALK EDGE and PACKTALK PRO on full-face, modular, open-face, and half helmets.
What You Need Before You Start
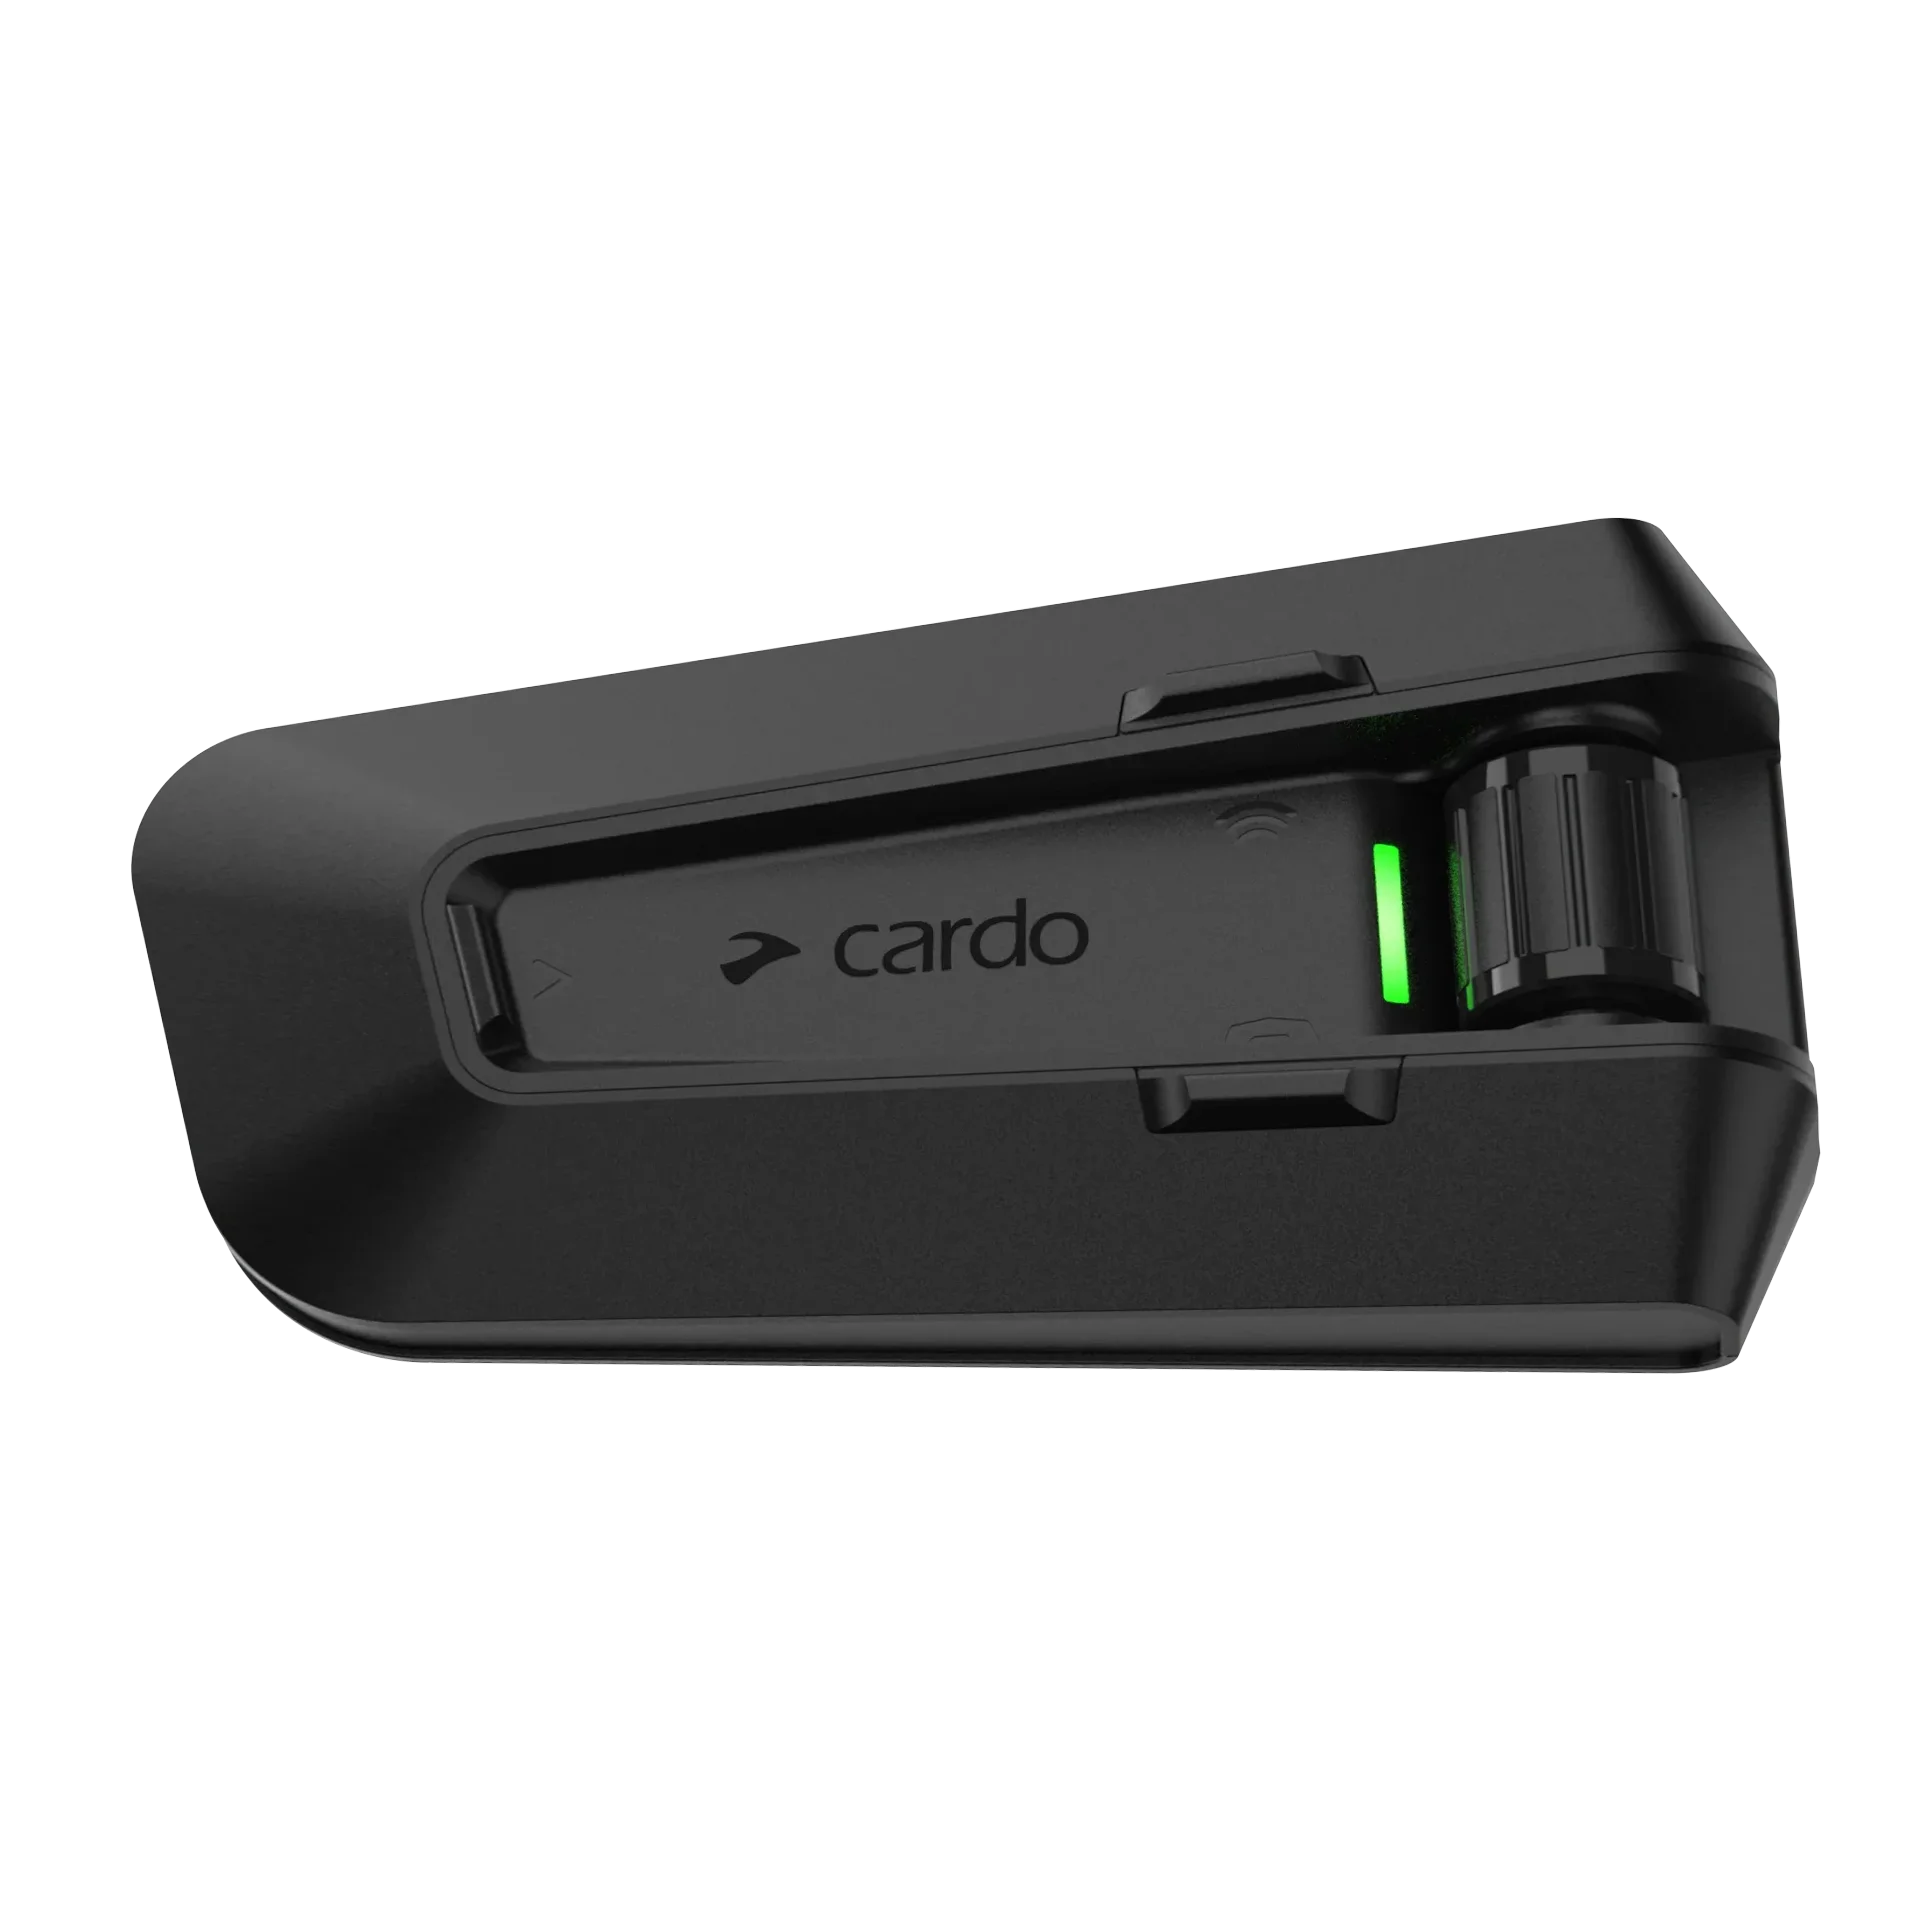
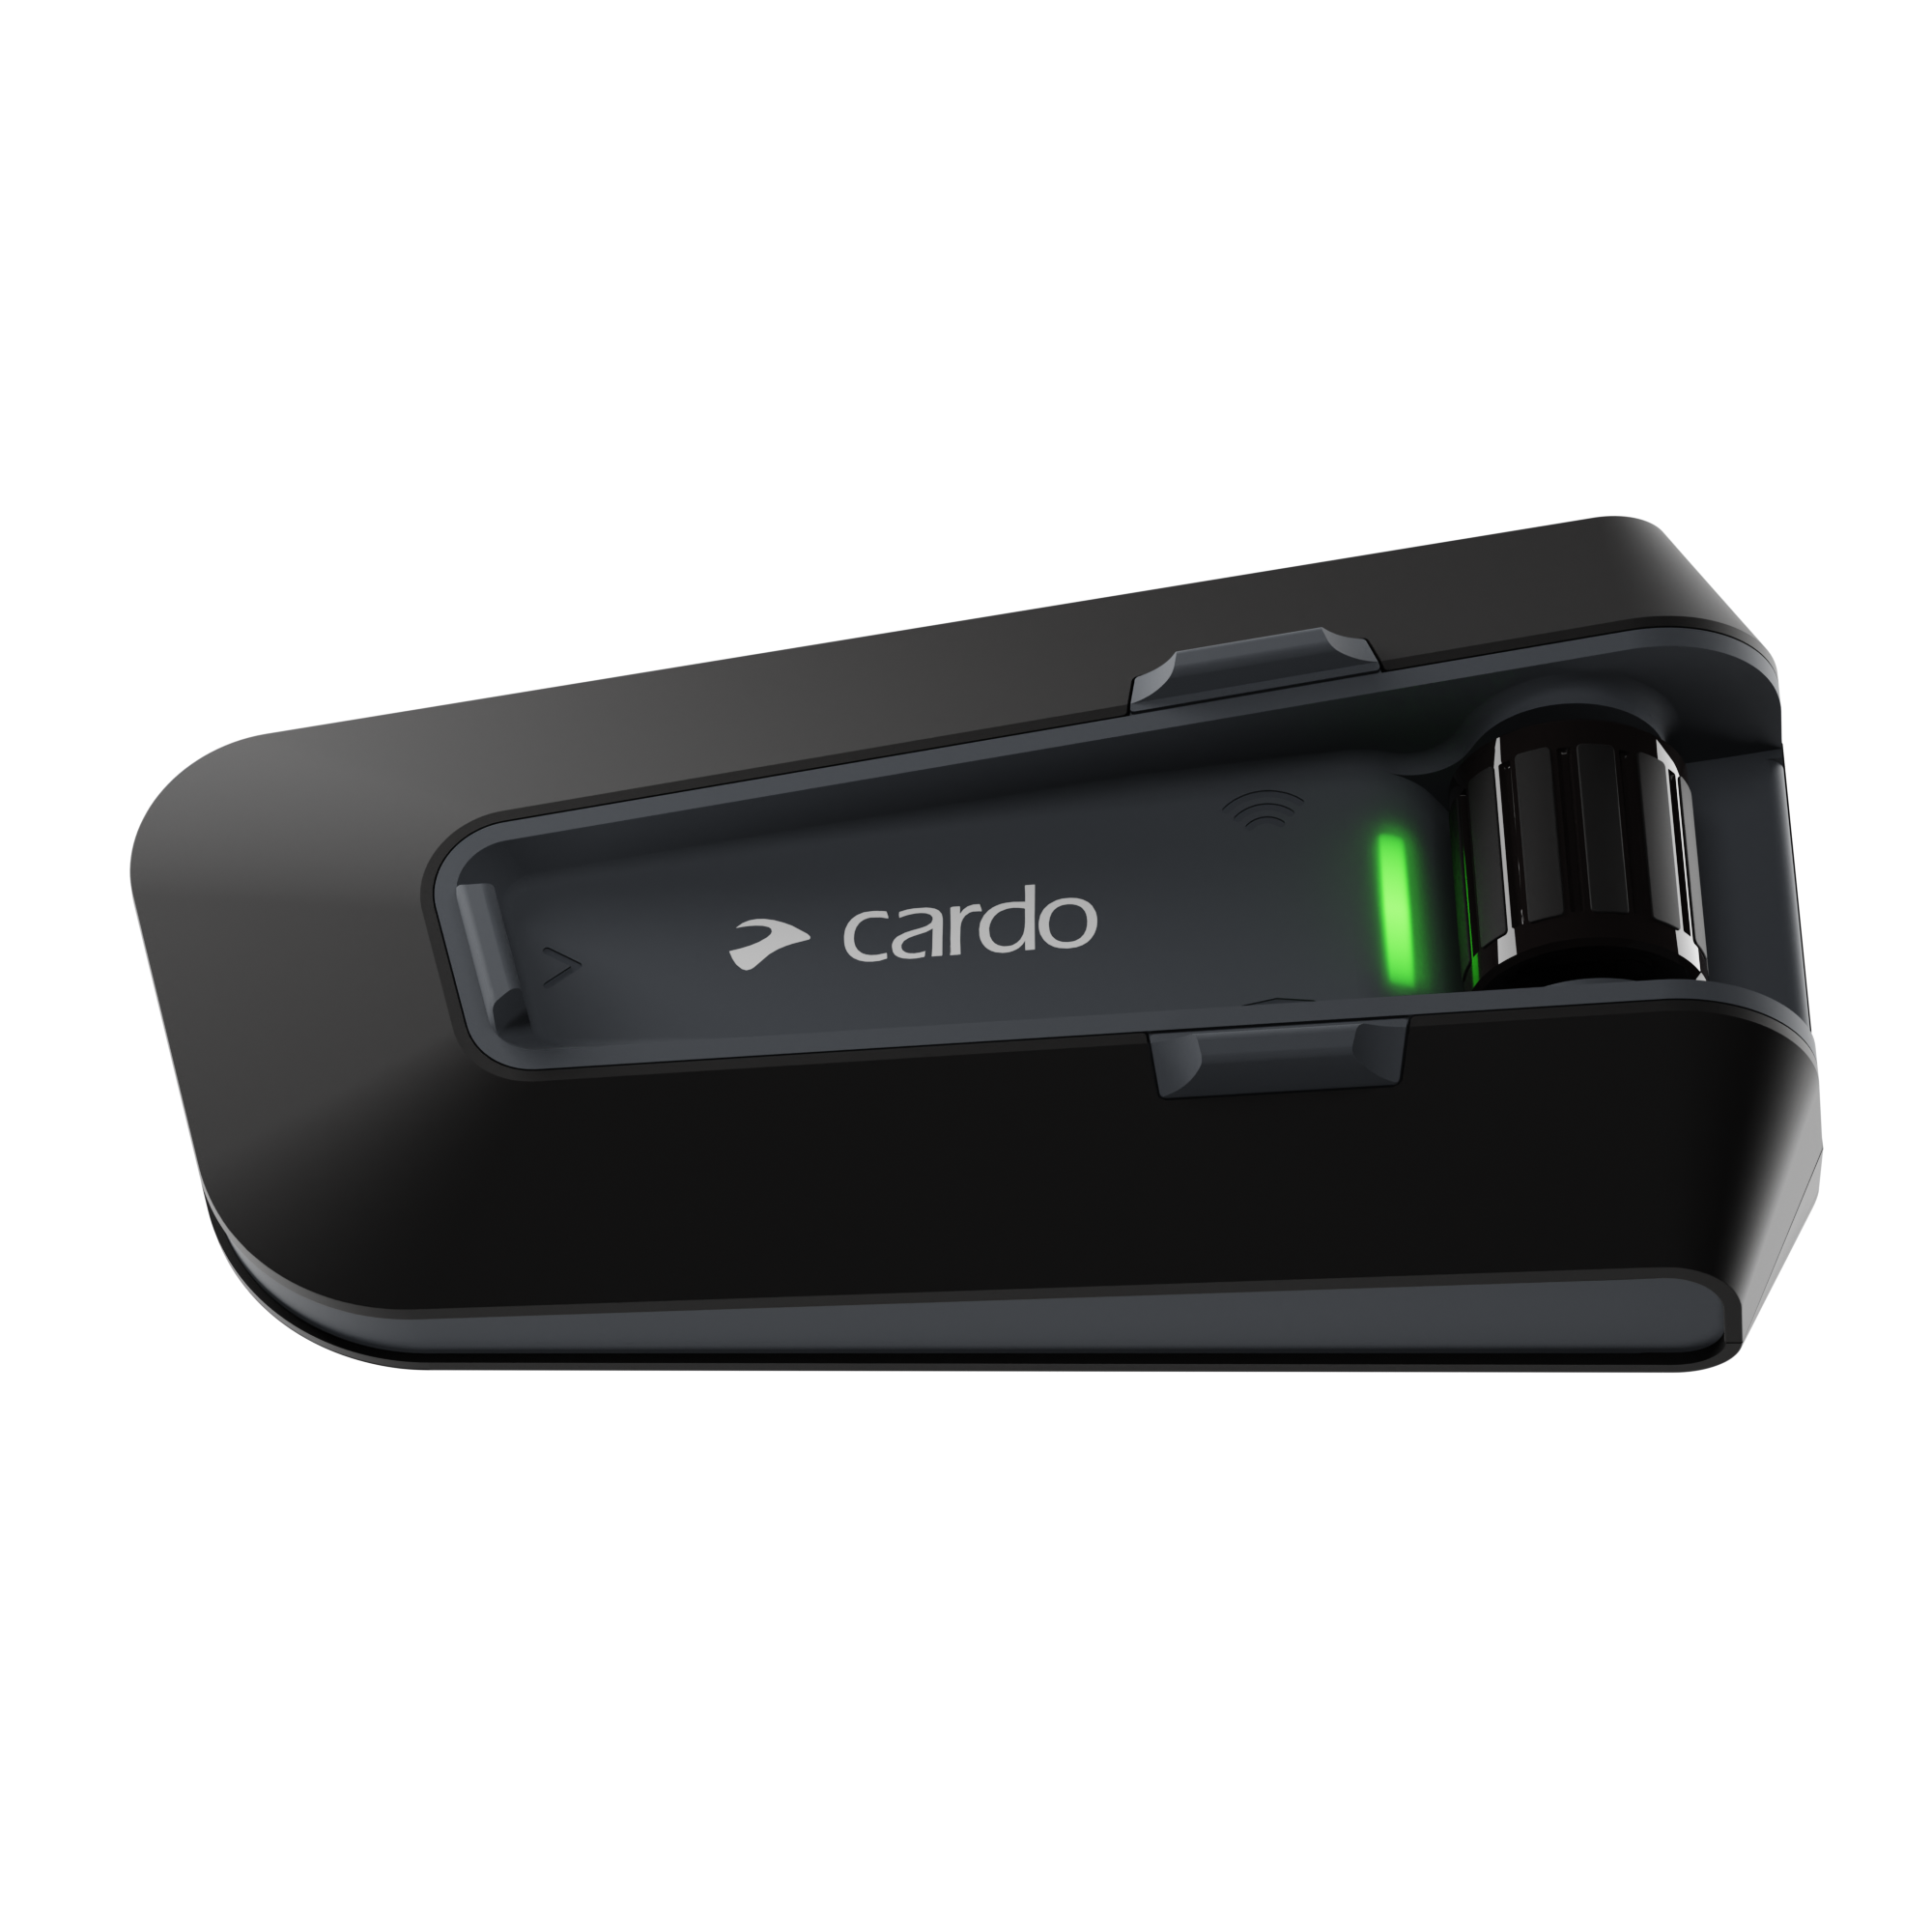
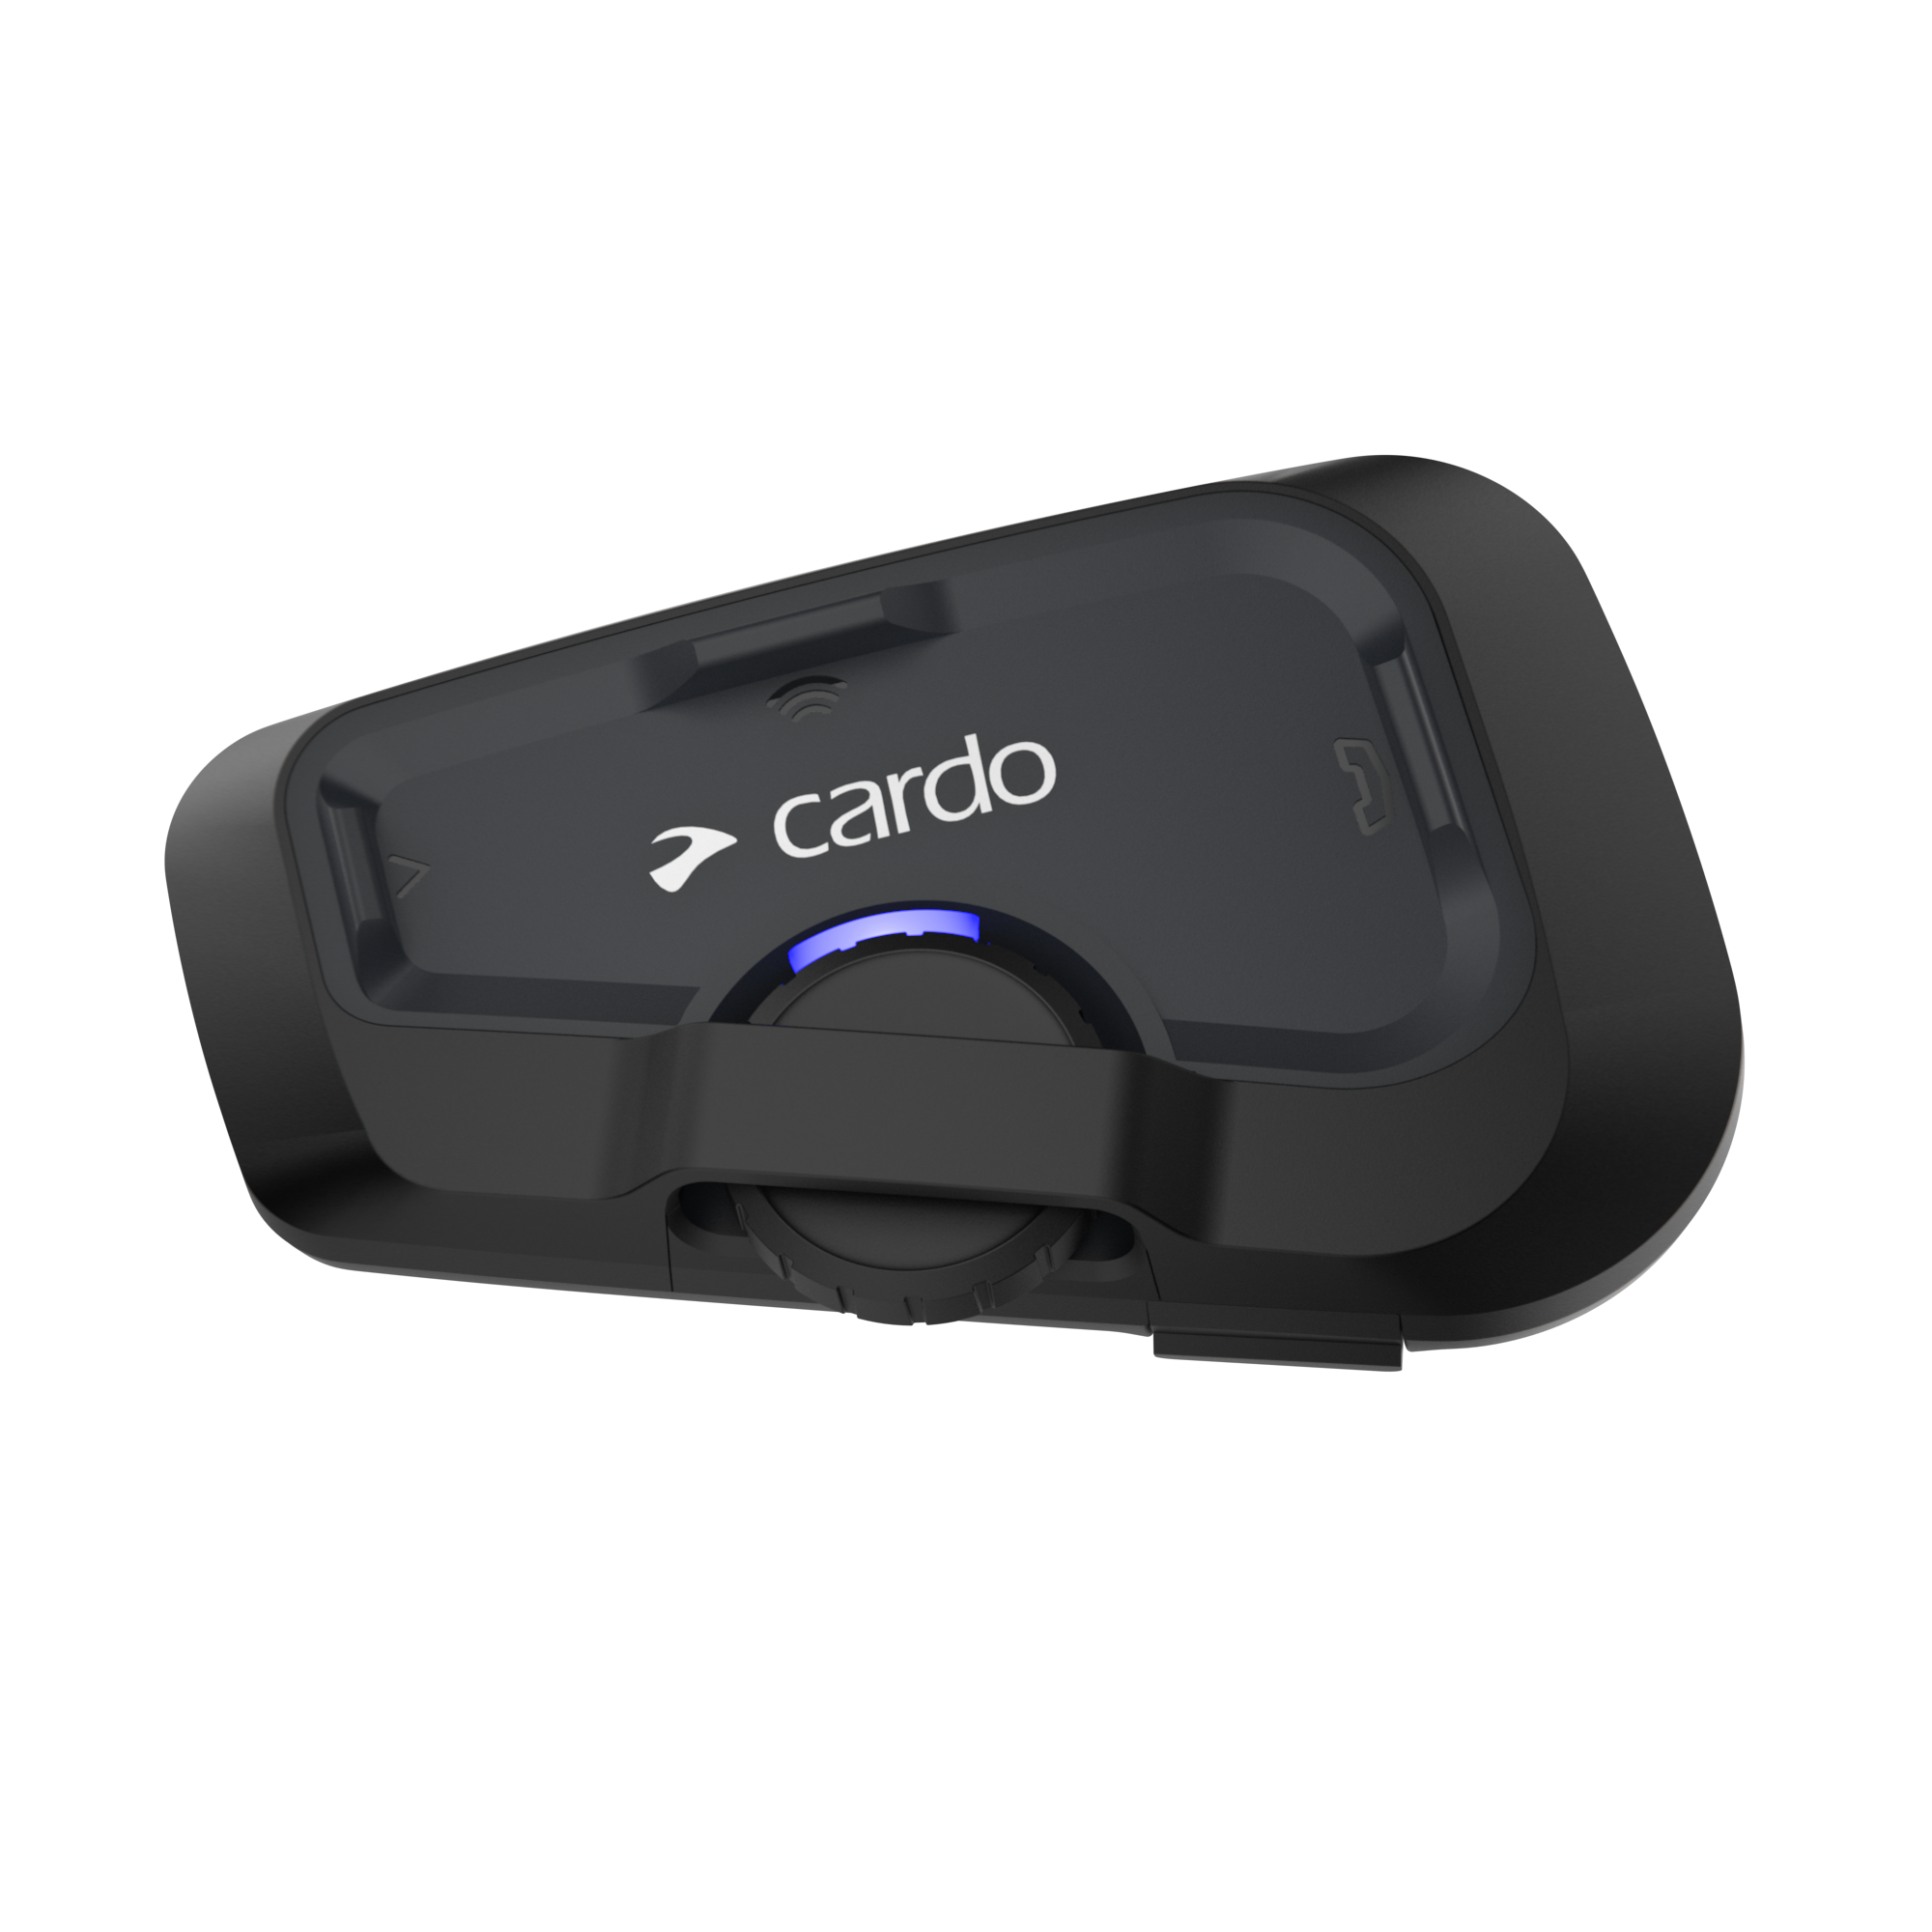
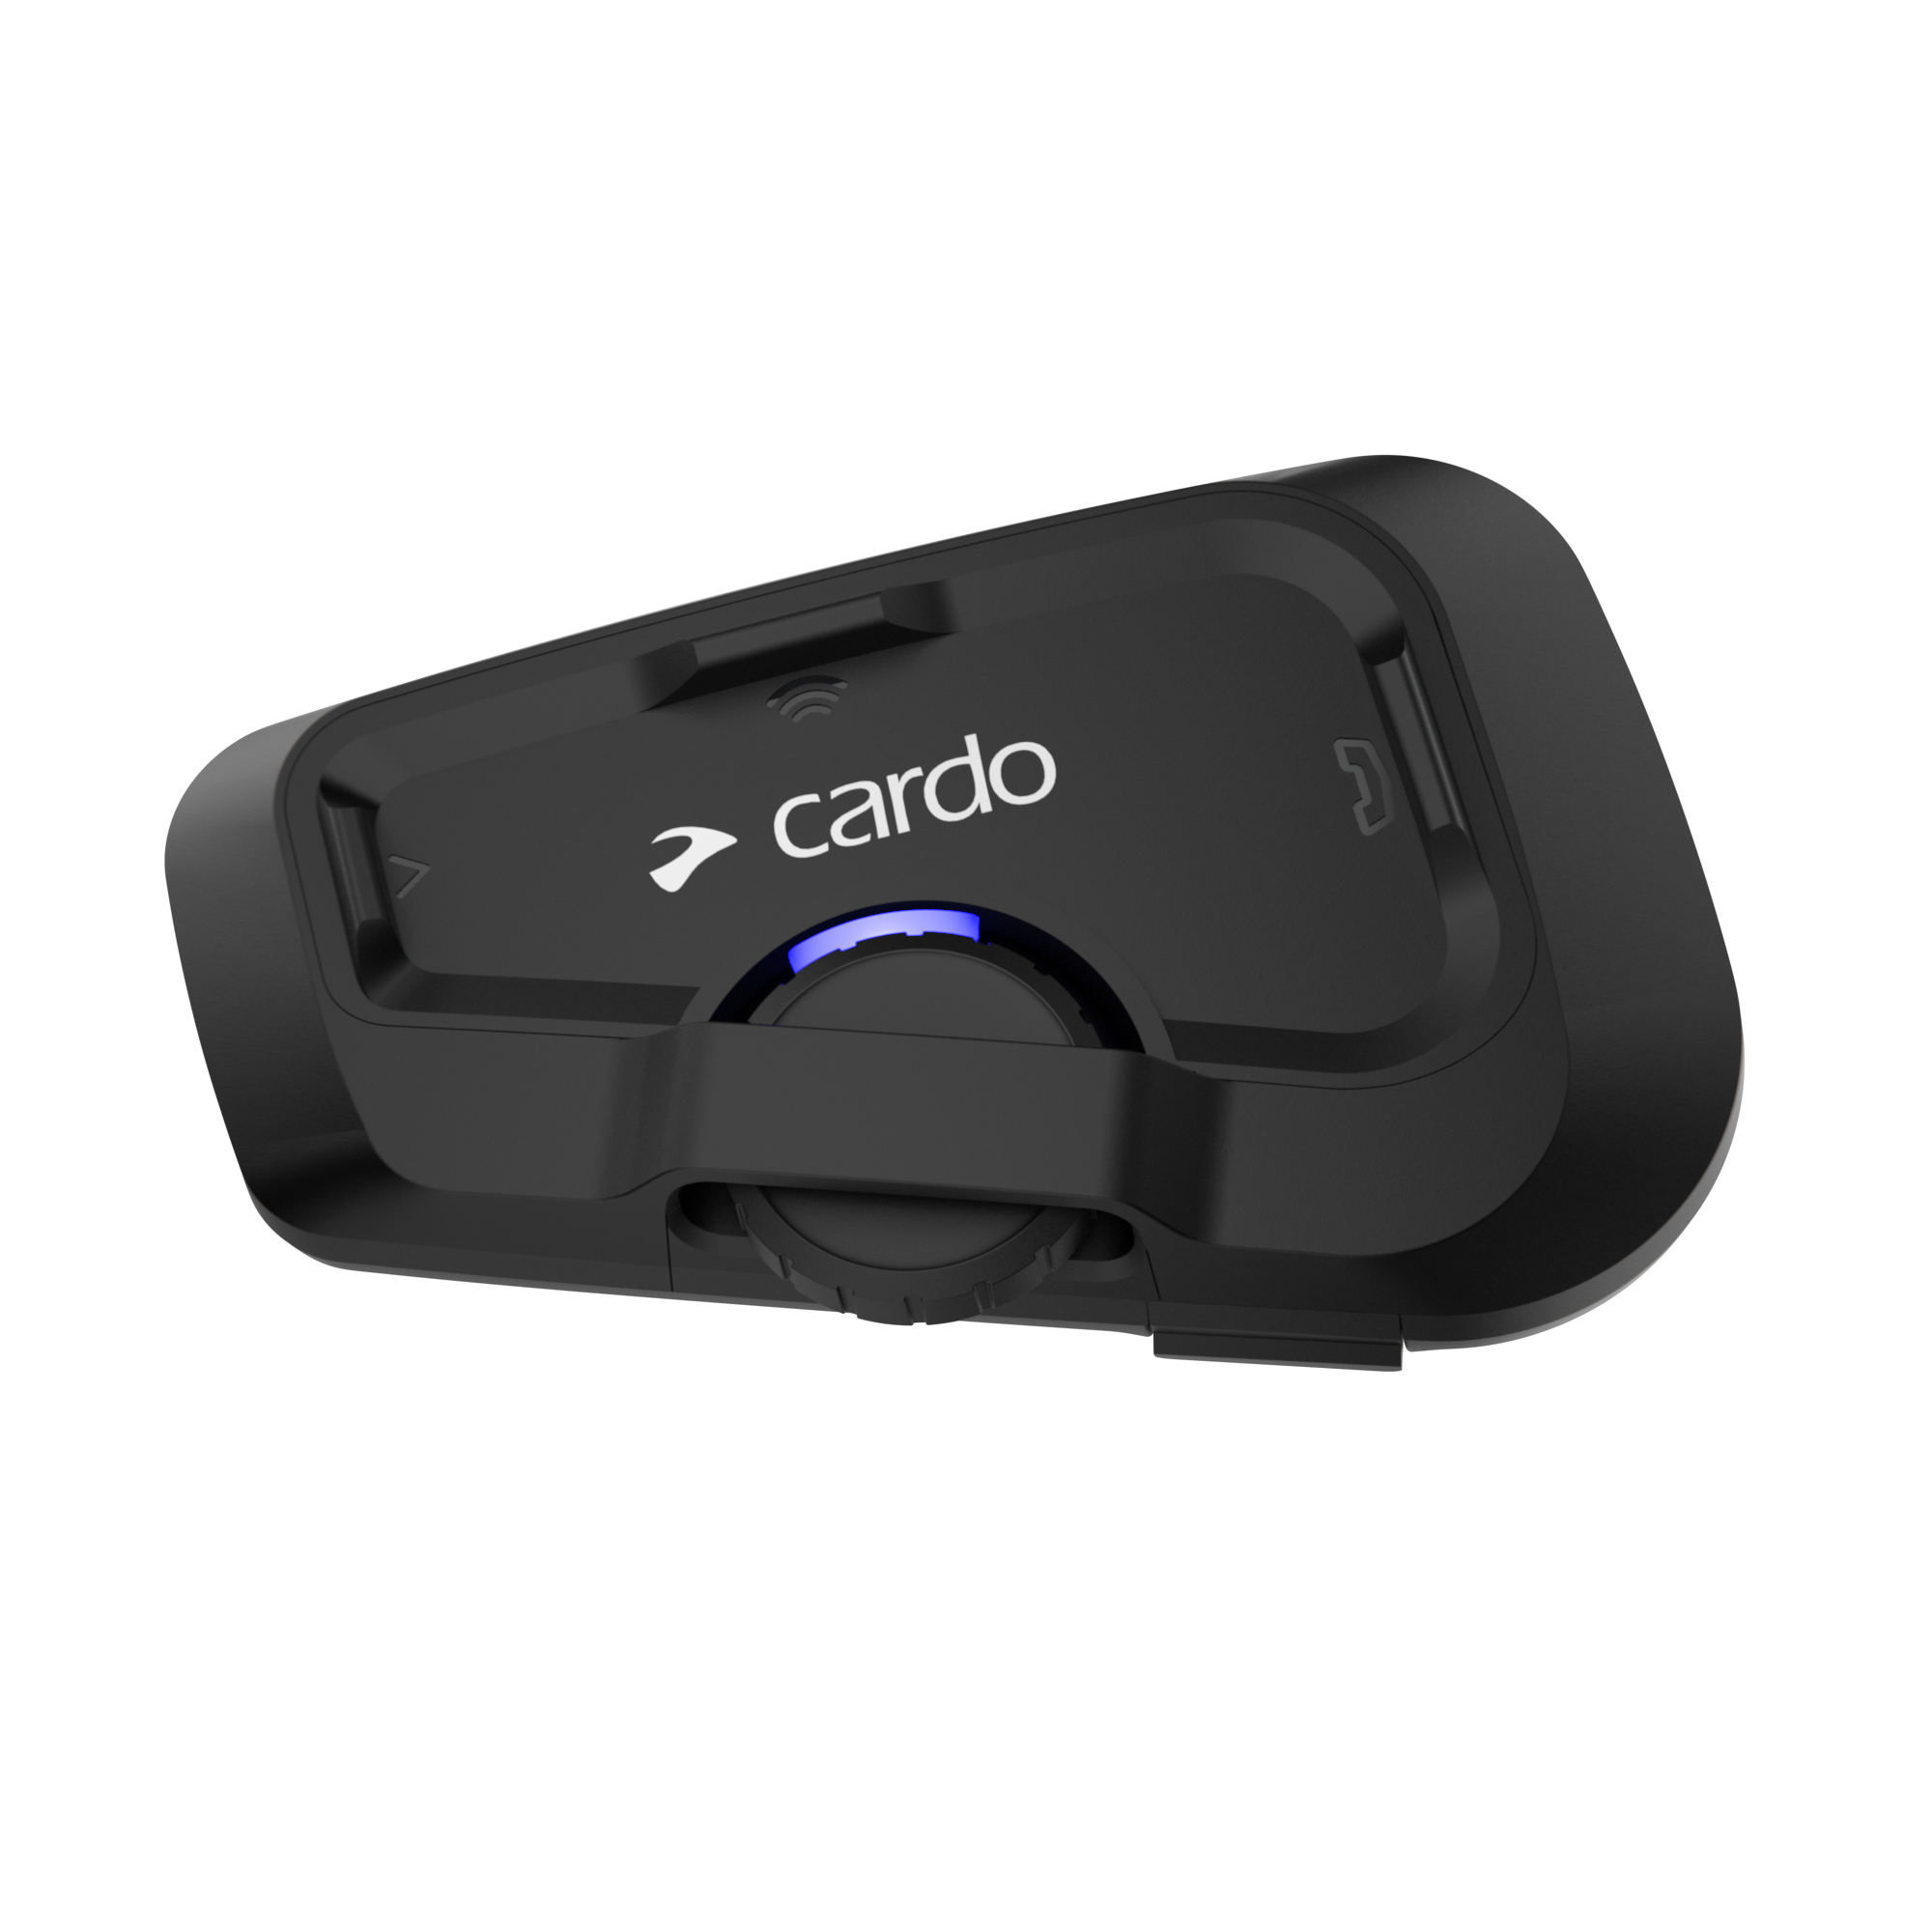
Compatible Cardo Intercoms and What Comes in the Box

This guide covers the PACKTALK EDGE and PACKTALK PRO. Both are compatible with the full range of helmet types described below. Each unit ships with:
-
The main communication unit with helmet-mount components
-
Left and right speaker units with mounting velcro
-
Boom microphone (for modular, open-face, and half helmets)
-
Wired microphone (for full-face helmets)
-
Adhesive base plate for the mount
-
USB-C charging cable
-
Quick start guide
Both the PACKTALK PRO and PACKTALK EDGE ship with the Air Mount system.
Helmet Types and Compatibility Check
Check your helmet type before starting, as the microphone installation varies:
-
Full-face helmets: Use the wired microphone
-
Modular helmets: Use the boom microphone (the jaw section lifts, so the wired microphone is not an option)
-
Open-face helmets: Use the boom microphone
-
Half helmets: require the separate Half Helmet Kit with boom microphone (sold separately)
If your helmet is a Shoei NEOTEC 3, GT-AIR 3, or J-CRUISE 3, the Shoei Adapter Gen 3 (sold separately) provides a factory-fit integration that replaces the standard adhesive mount.
How to Install the Speakers in Your Motorcycle Helmet

Step 1: Remove Cheek Pads and Clean the Ear Cavities
-
Remove both cheek pads from the helmet interior according to the manufacturer's instructions. Most cheek pads unclip or pull free.
-
Locate the speaker pockets or ear cavities on both sides of the helmet interior.
-
Wipe the inside surface of each ear cavity with the included alcohol pad or a clean, dry cloth. Allow to dry completely before proceeding.
Clean surfaces are essential for the Velcro adhesive to bond properly. Do not skip this step.
Step 2: Attach the Velcro Mounting Pads
-
Take the speaker velcro pads from the accessory pack.
-
Peel the adhesive backing and press each velcro pad firmly into the centre of the relevant ear cavity.
-
Press and hold for 30 seconds per pad to ensure a full bond.
Step 3: Fit the Left and Right Speakers
-
Identify the left and right speaker units (usually labelled L and R on the cable or housing).
-
Press each speaker firmly onto the corresponding velcro pad in the ear cavity.
-
Ensure the speaker's face is pointing inward toward the ear when the helmet is worn.
Step 4: Route the Speaker Cable Under the Top Head Lining
-
Route the speaker cable carefully under the top head lining, following the natural contour of the helmet interior.
-
Keep the cable away from areas where it could be pinched by cheek pads or create pressure against the rider's head.
-
Run the cable toward the left side of the chin area where the cradle will be mounted.
Using Spacers If the Ear Cavities Are Deep
If your helmet's ear cavities are deep and the speakers do not sit close enough to your ears for clear audio, use the speaker spacer pads included in the accessory pack. Attach the spacer behind the speaker to raise it forward. Check fit by wearing the helmet briefly before moving to the next step.
How to Attach the Microphone

Full-Face Helmet Microphone Installation
-
Take the wired microphone from the accessory pack. The wired microphone is a flexible cable with the microphone element at the end, designed to sit close to the mouth inside the chin bar of a full-face helmet.
-
Position the microphone element near the corner of your mouth on the left side of the chin bar interior, using the adhesive pad to secure it in place.
-
Route the microphone cable along the chin bar lining toward the cradle junction point.
-
Connect the microphone cable to the speaker cable at the cradle junction point.
For a secure fit, tuck the cable under the chin pad rather than leaving it loose.
Modular and Open-Face Helmet Microphone Installation
-
Use the boom microphone for modular and open-face helmets. The boom microphone is a rigid arm that holds the microphone element in a fixed position, making it the correct choice where there is no enclosed chin bar to contain a wired microphone.
-
Clip the boom microphone arm into the chin bar receiver on the left side of the helmet interior. On open-face helmets, attach the boom arm to the designated mount point on the left side.
-
Adjust the boom arm angle so the microphone tip sits approximately 1 to 2cm from the corner of your mouth when the helmet is worn.
-
Route the boom microphone cable toward the cradle junction point and connect it to the speaker cable.
Half Helmet Microphone Kit Installation
The Half Helmet Kit includes a boom microphone and an adhesive mount designed specifically for half helmets. Attach the boom microphone mount to the inner surface of the chin area using the adhesive provided. Adjust the boom arm so the microphone tip sits close to the corner of your mouth. Route the cable along the helmet's inner surface and connect it to the speaker cable at the cradle.
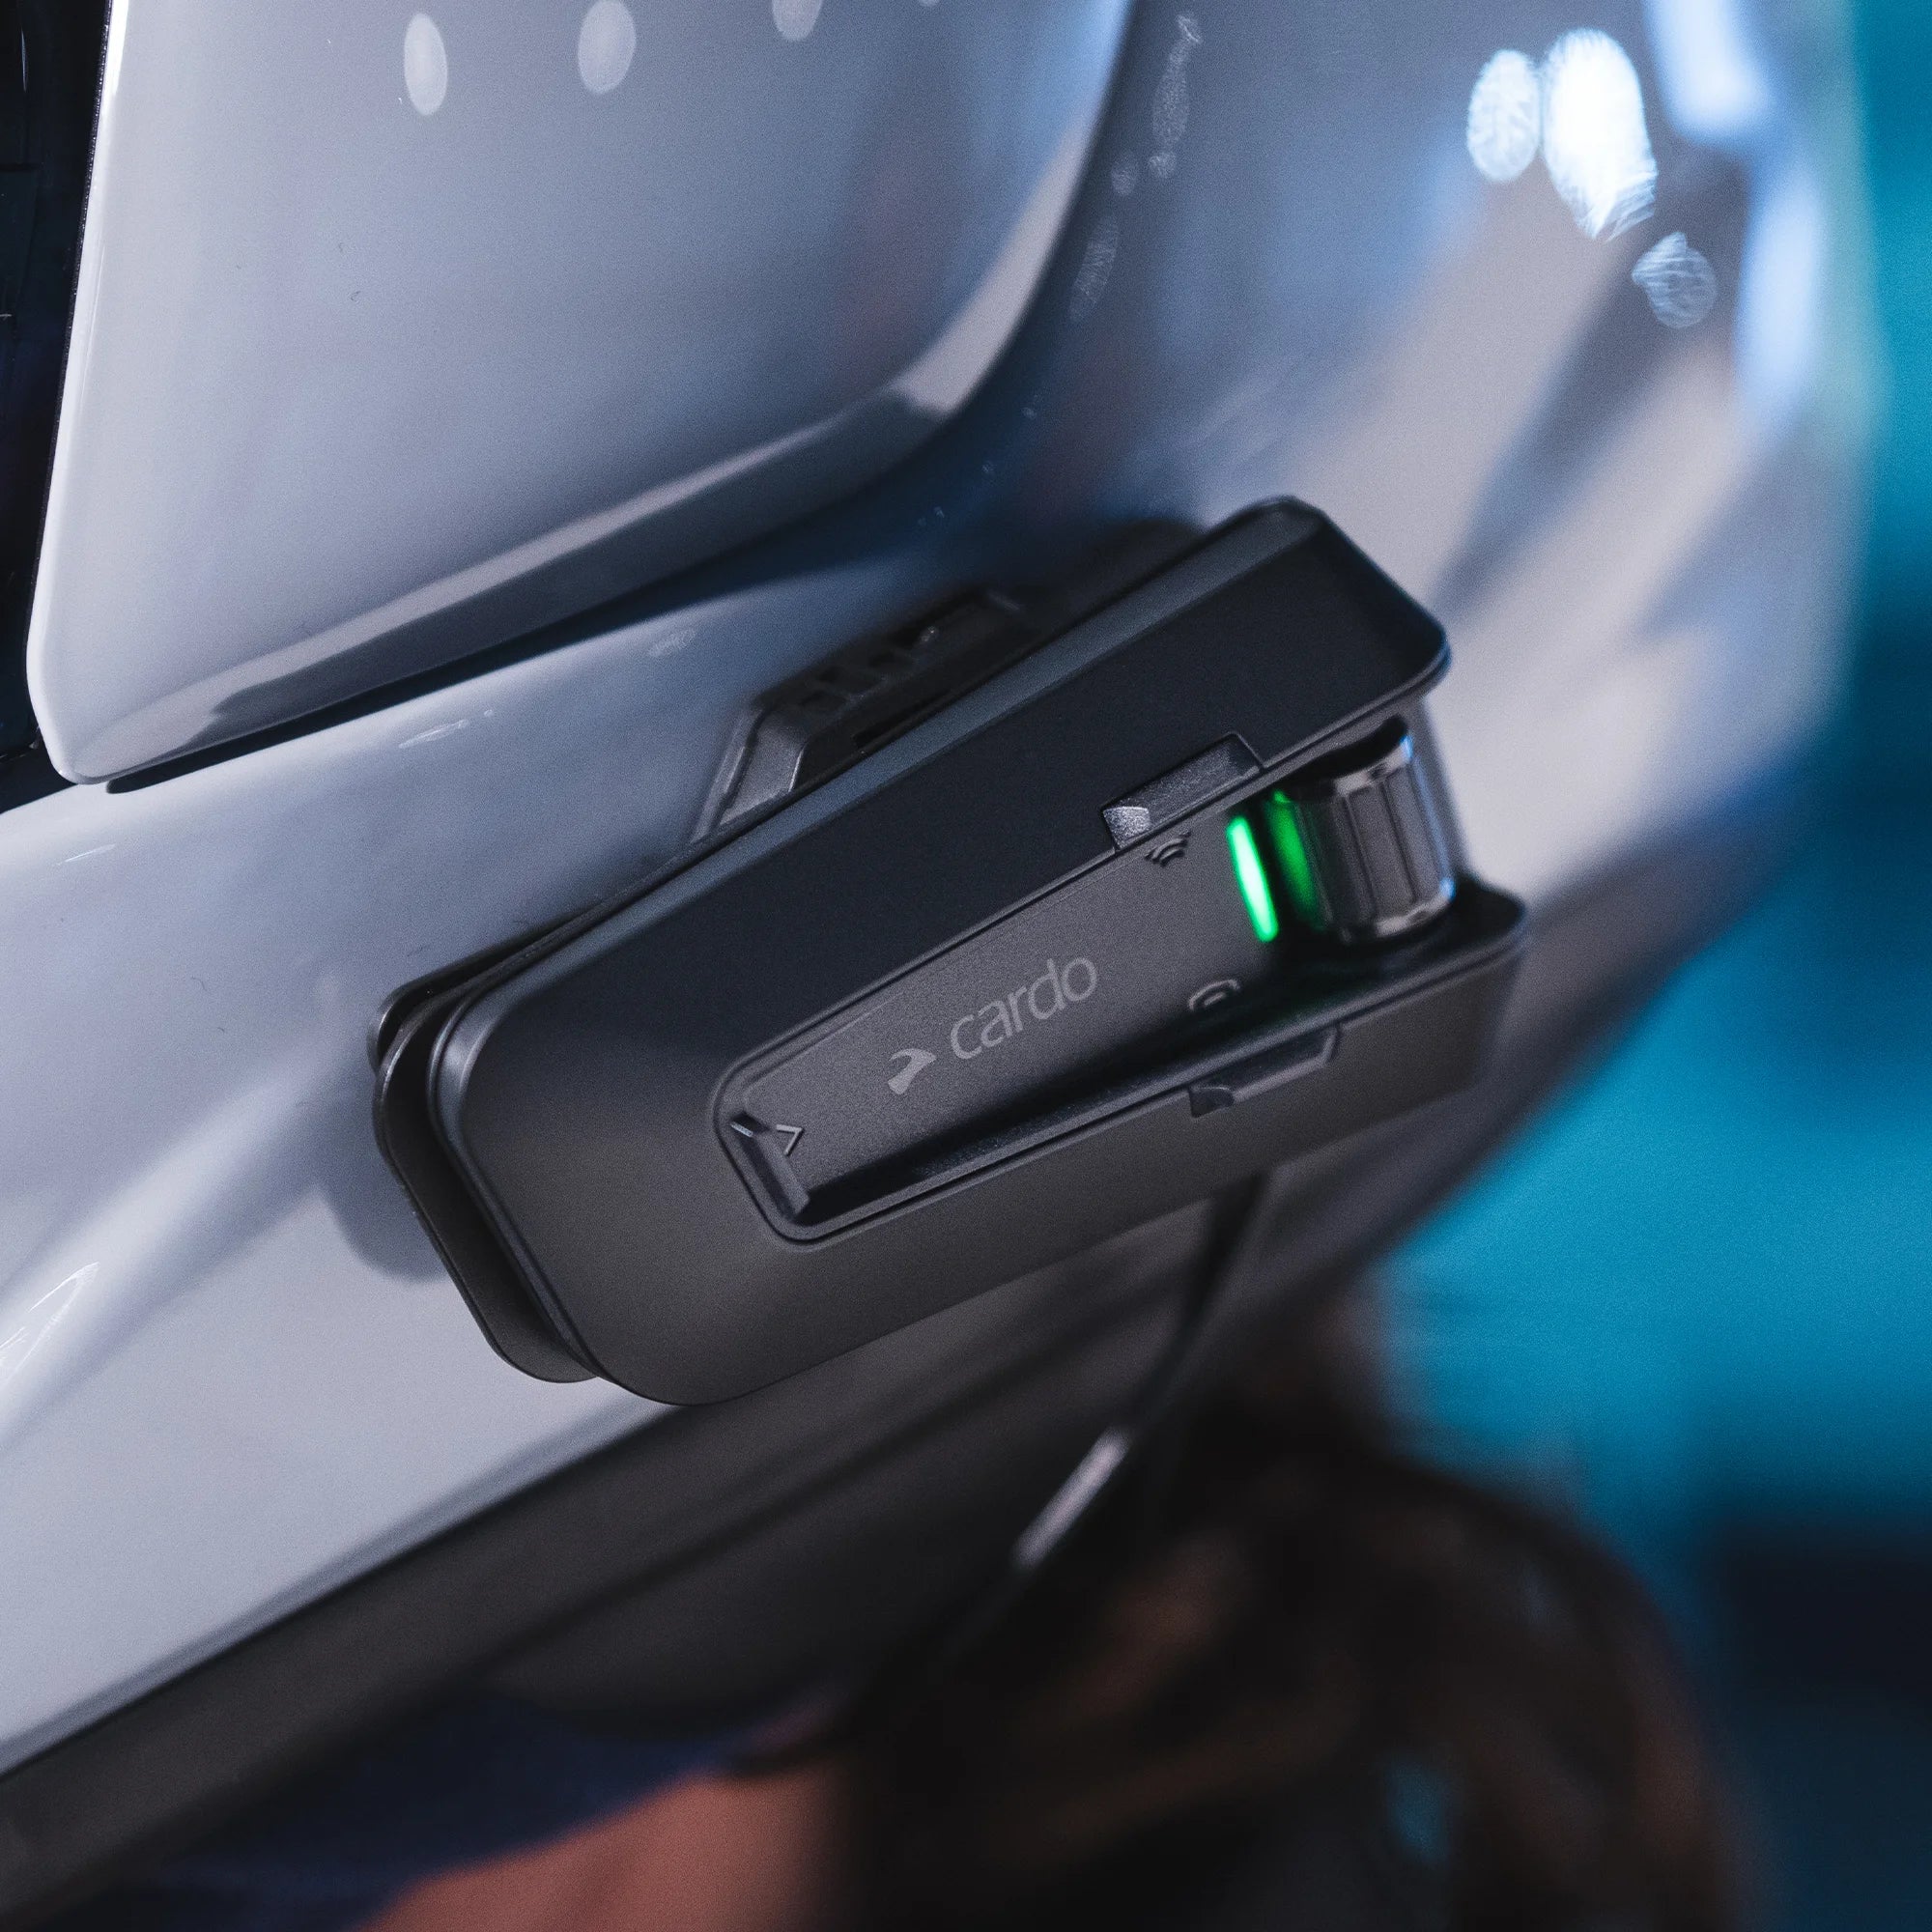
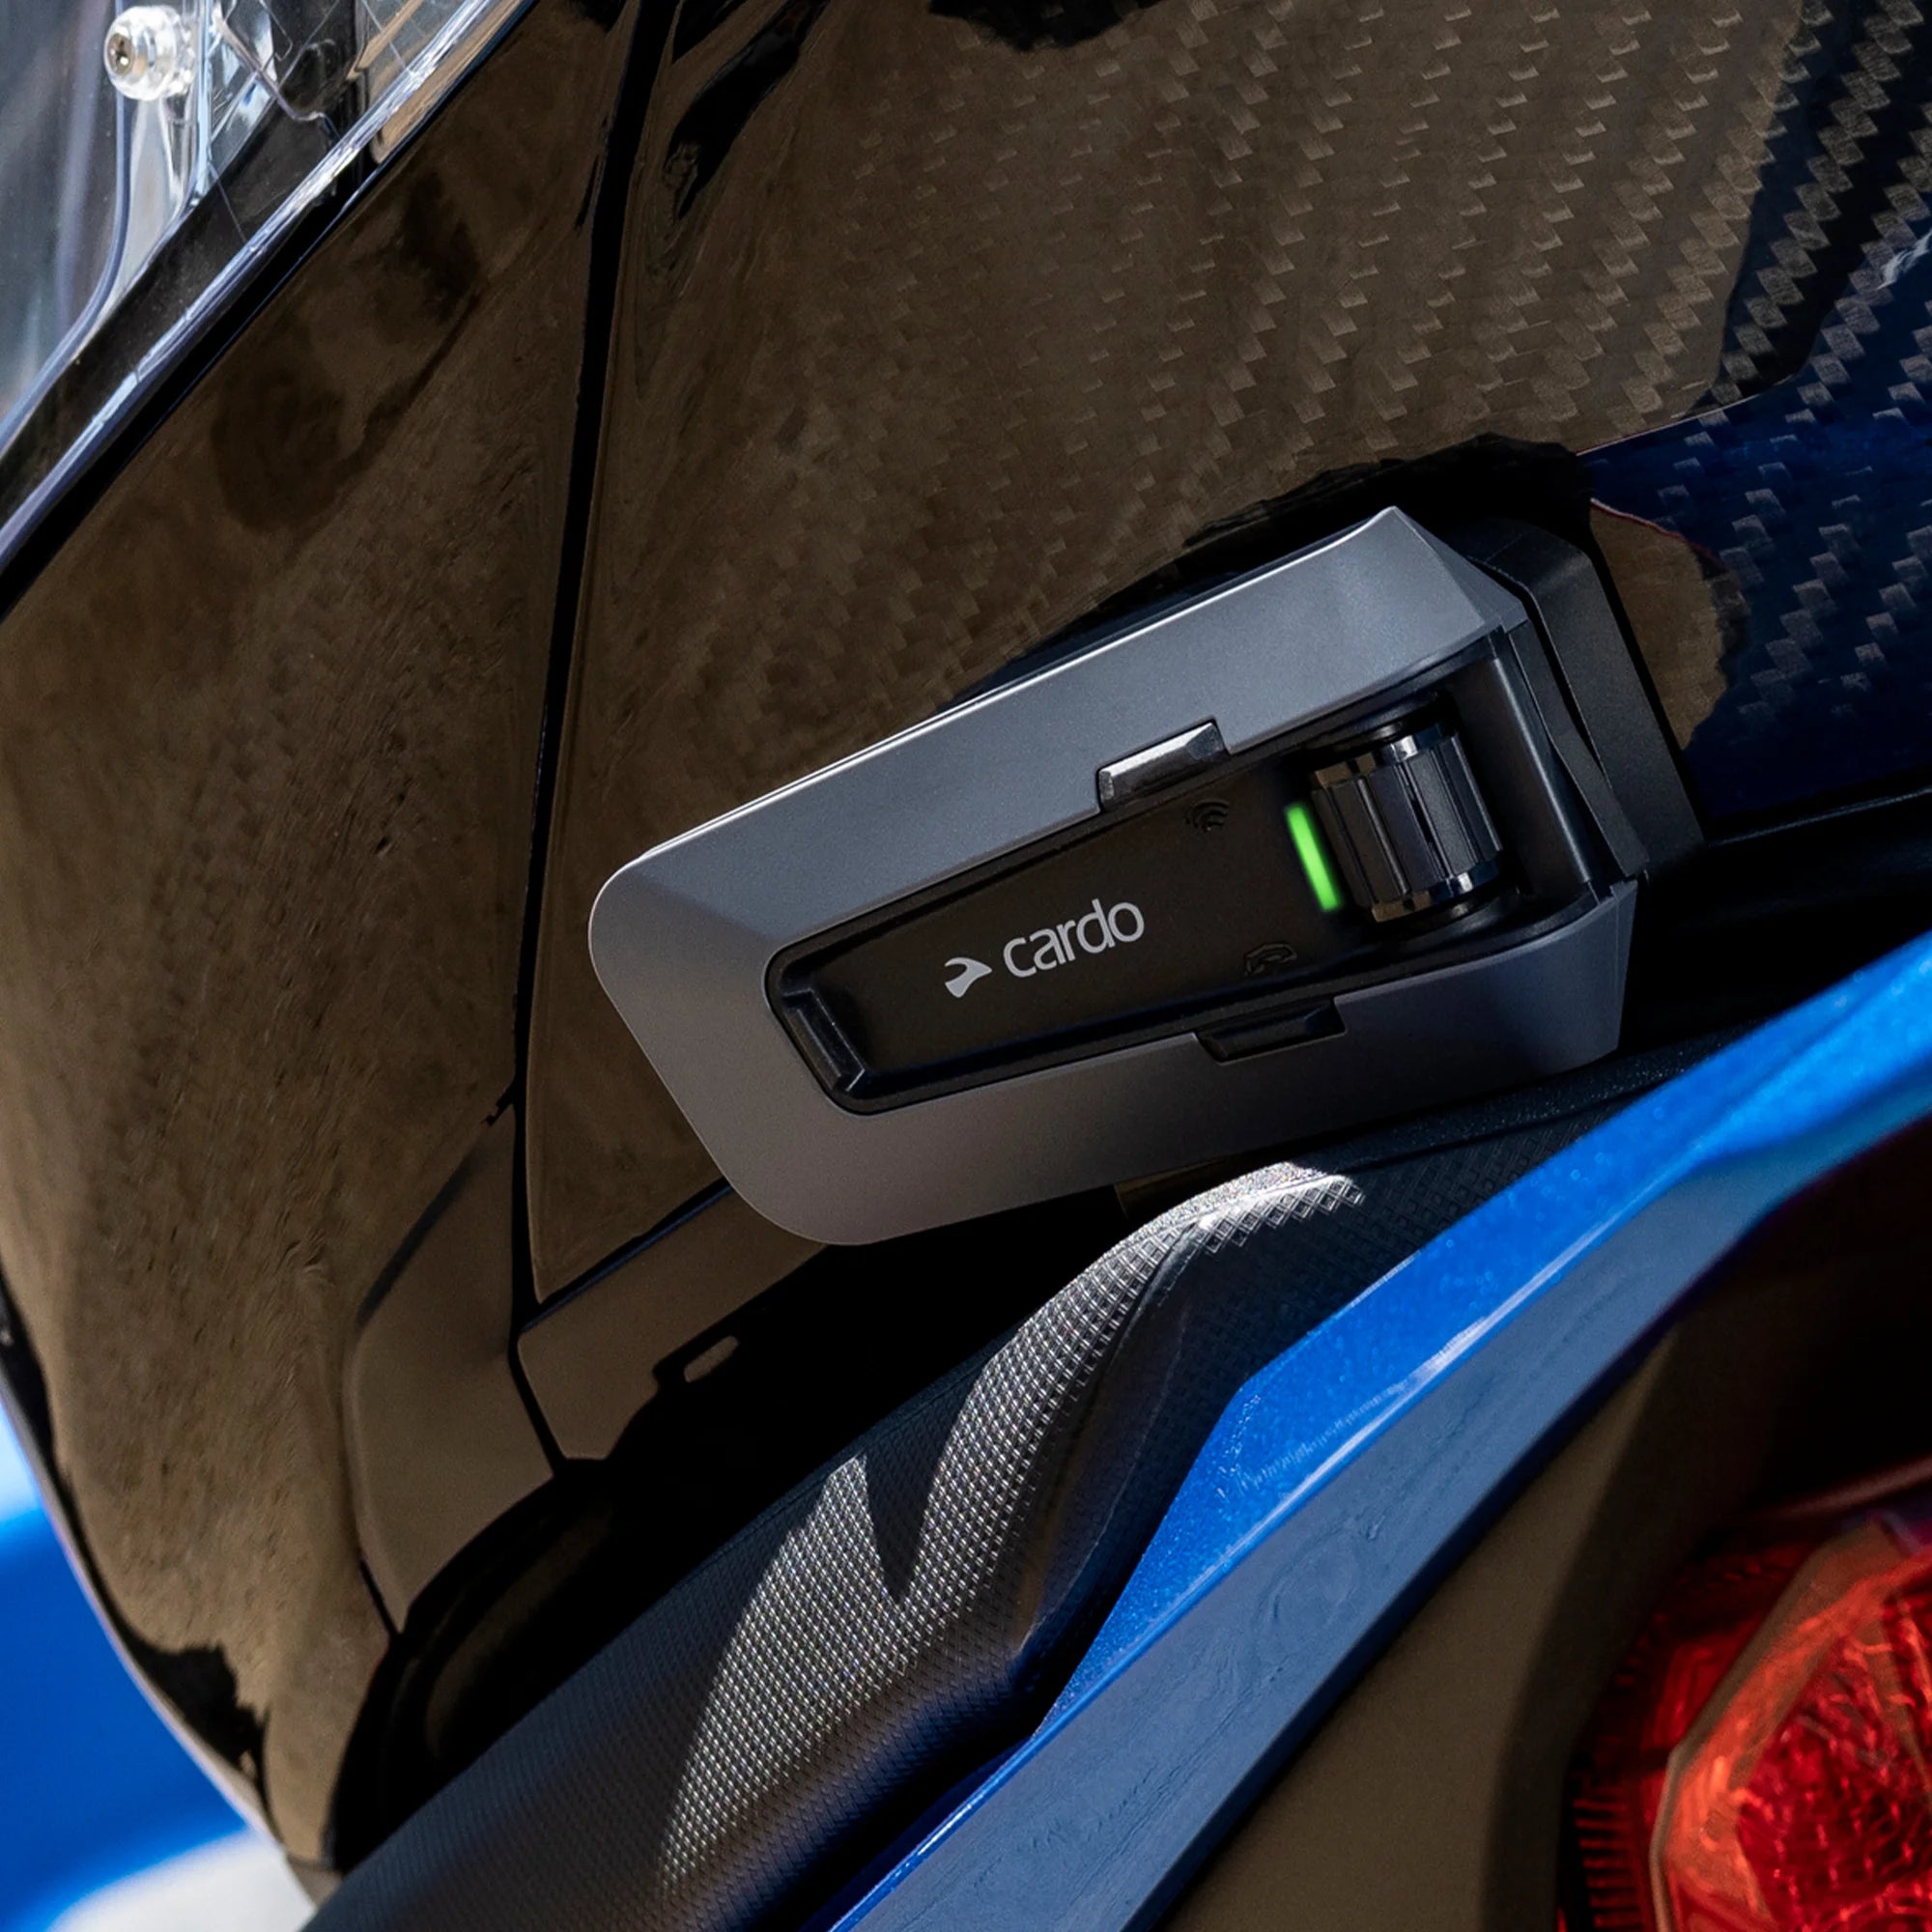
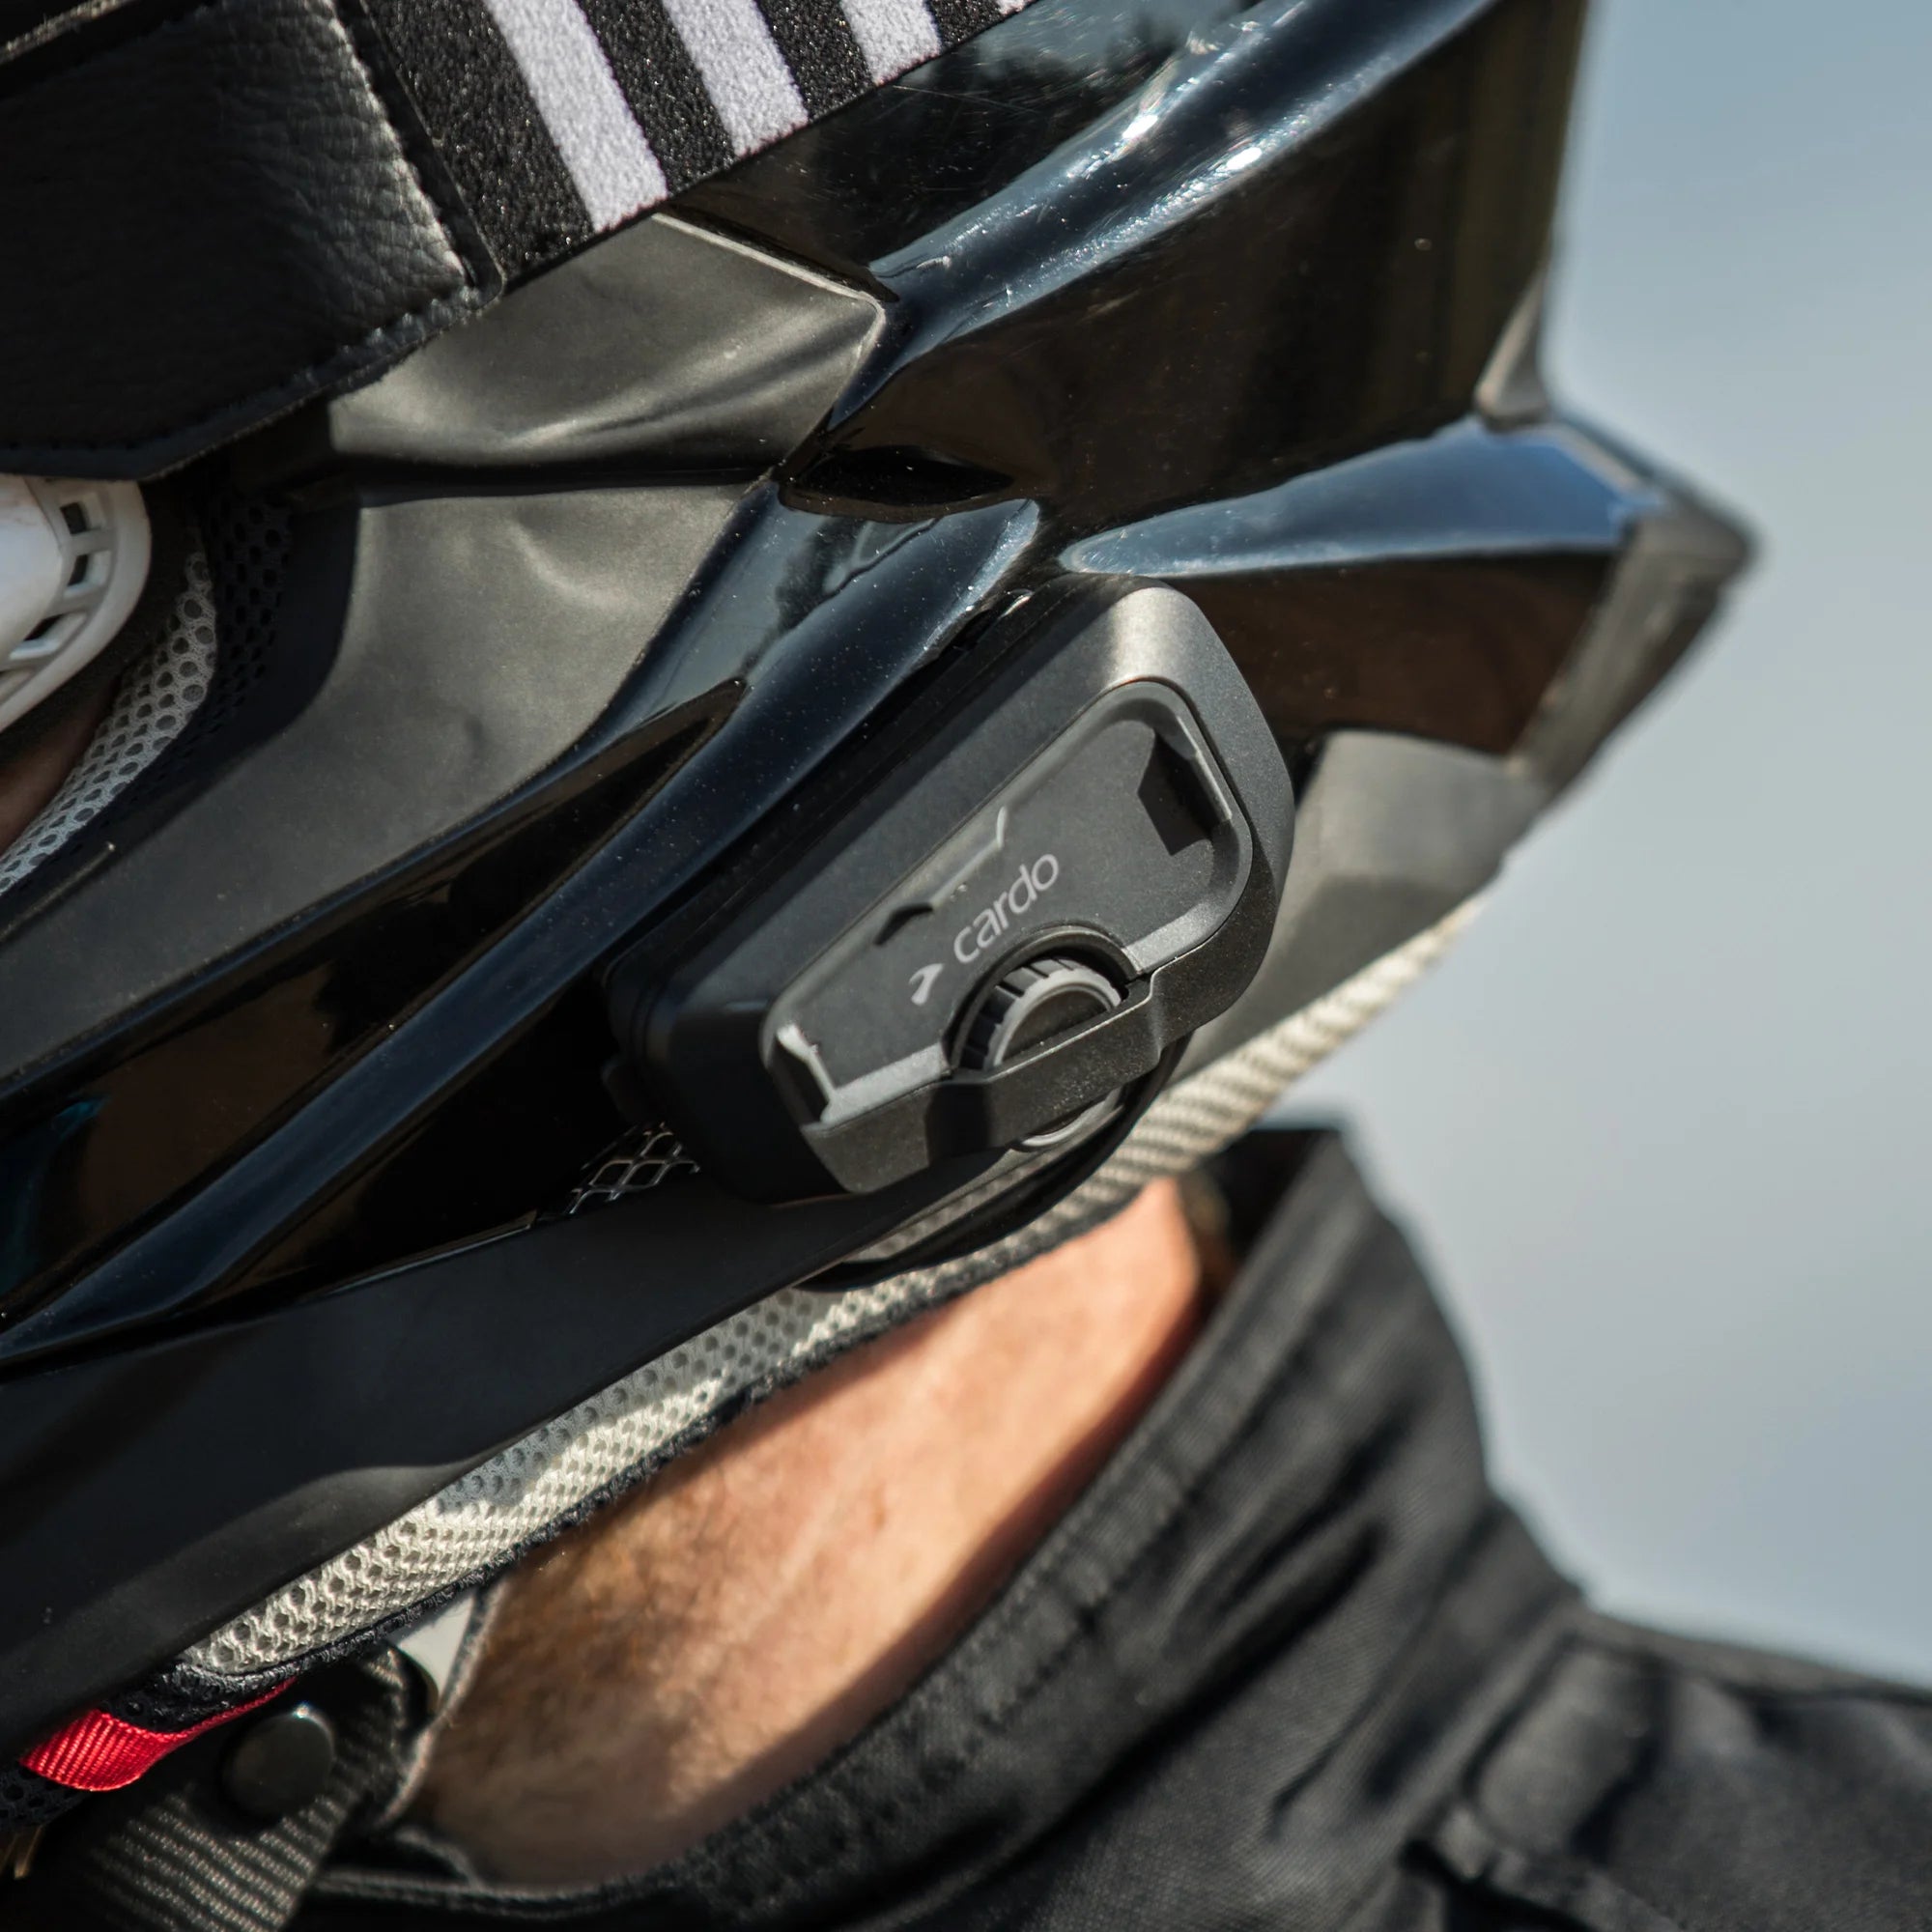
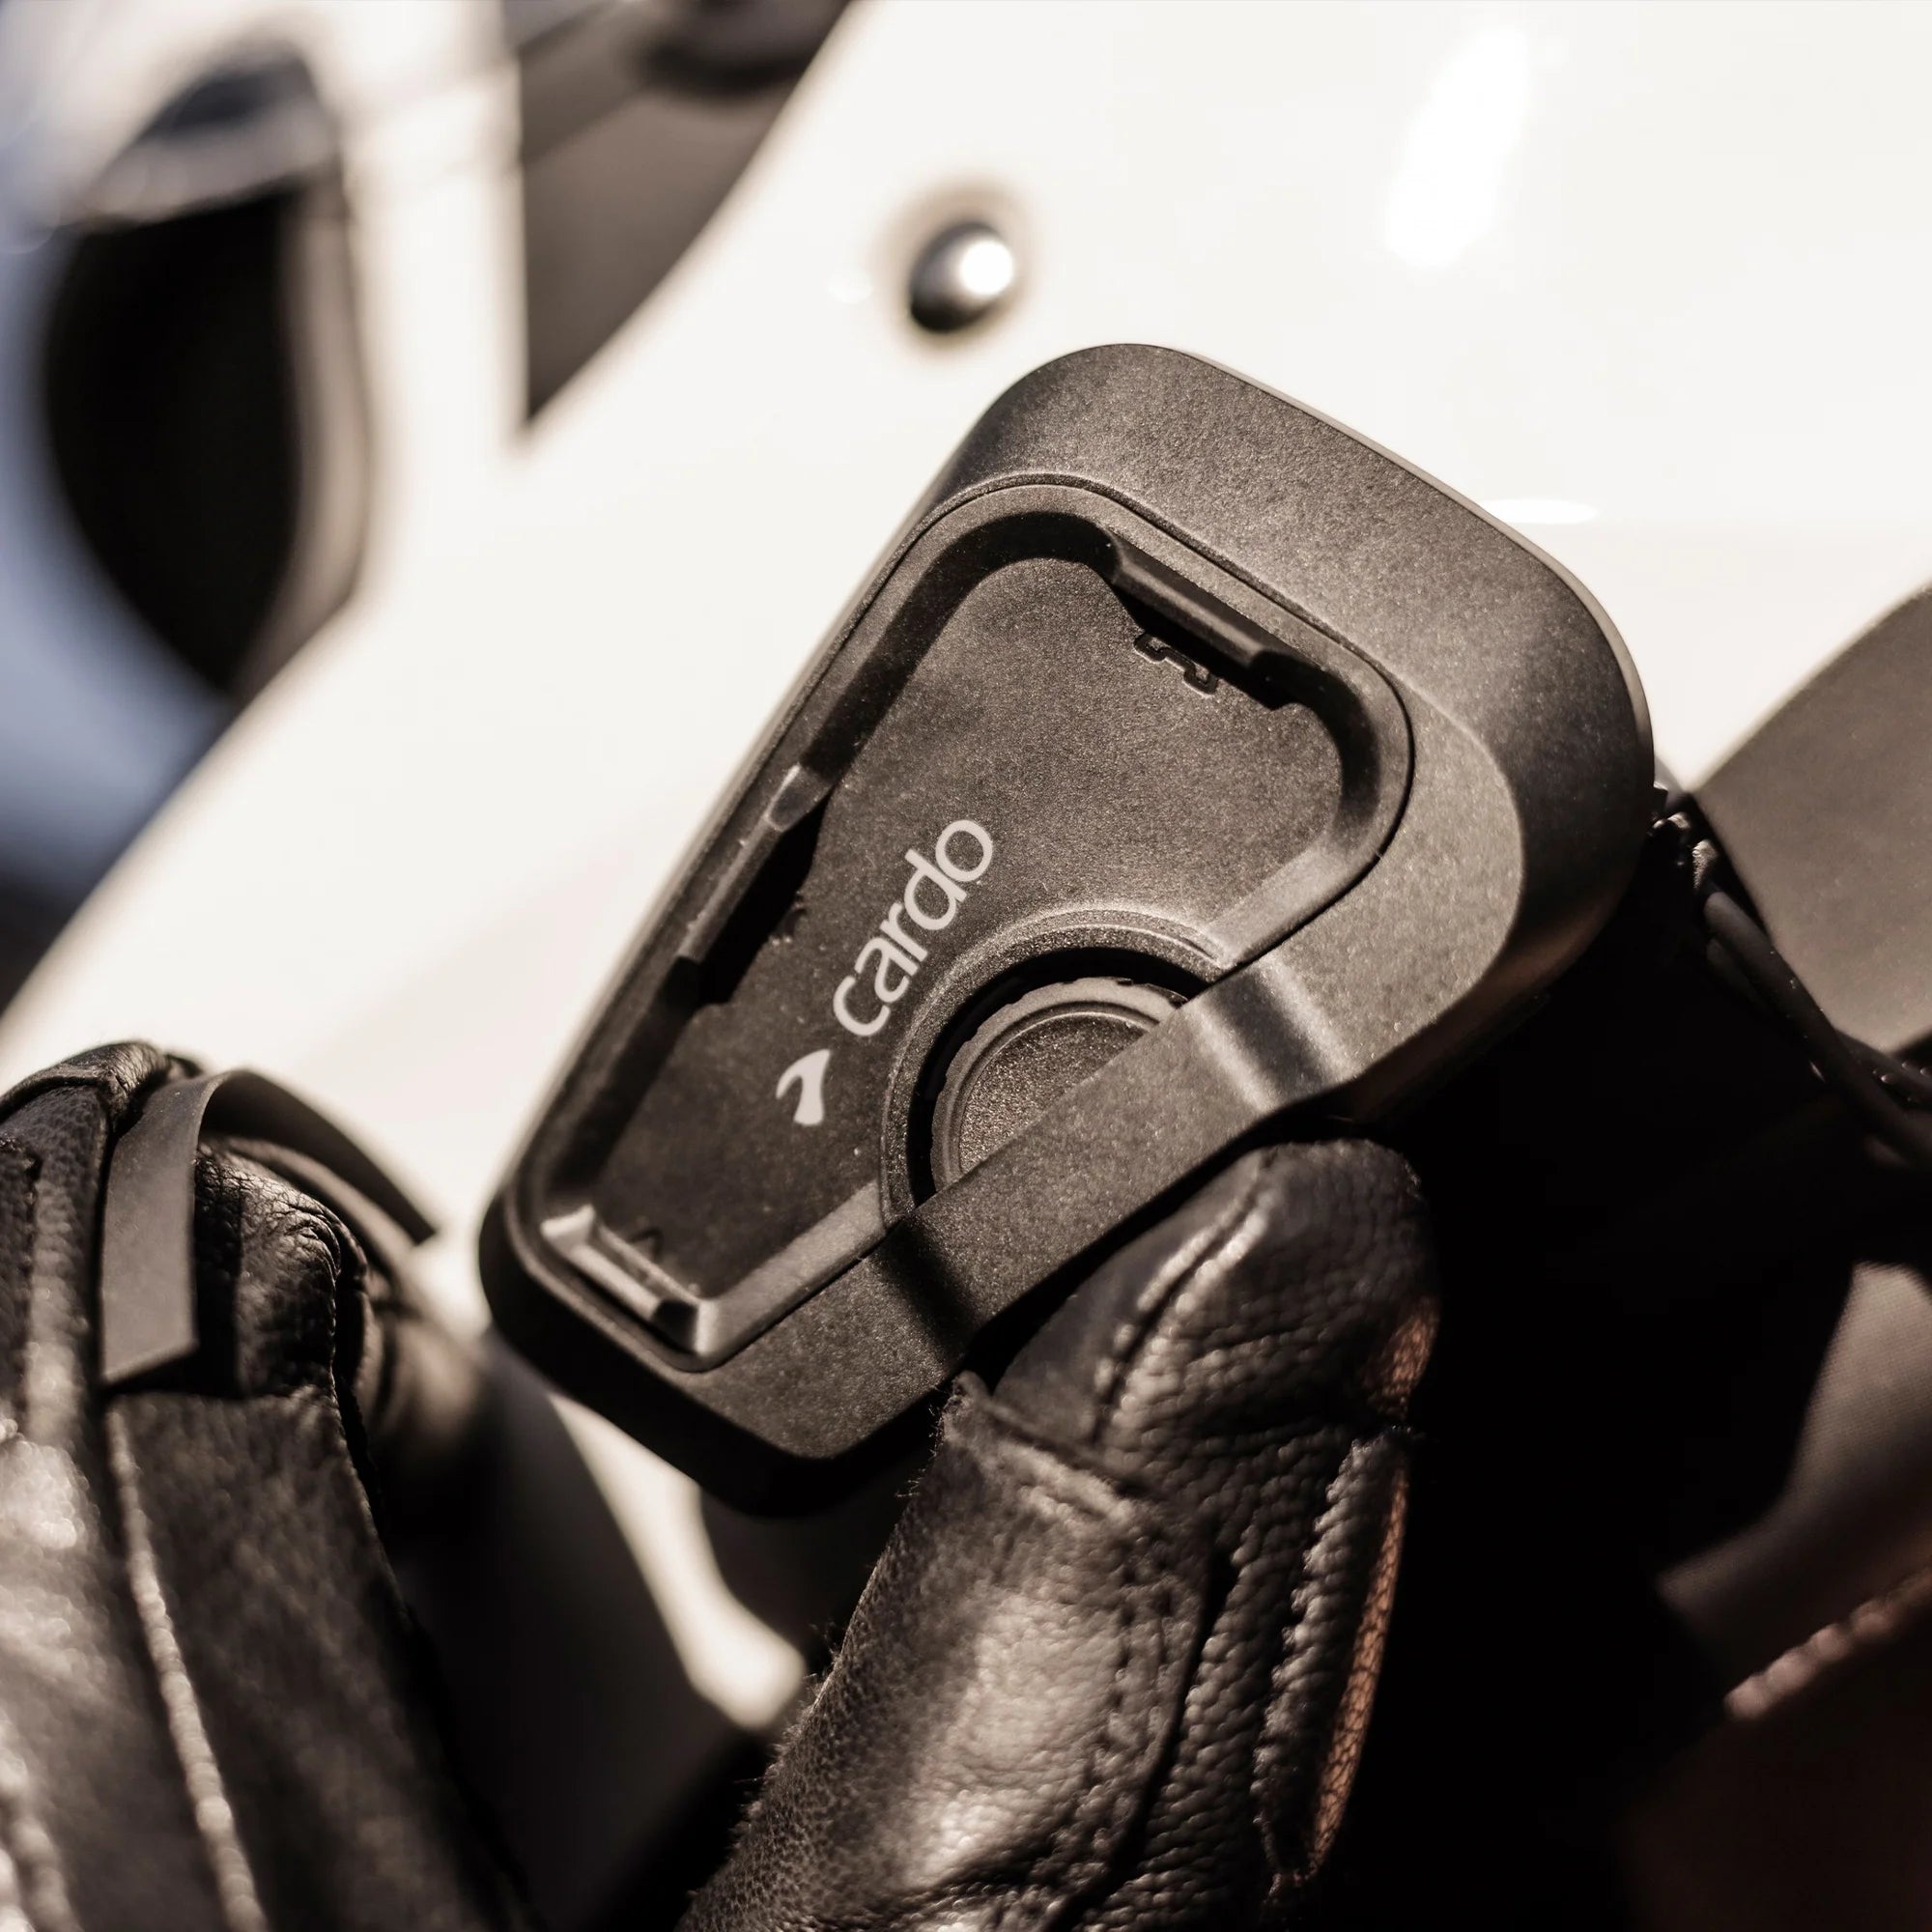
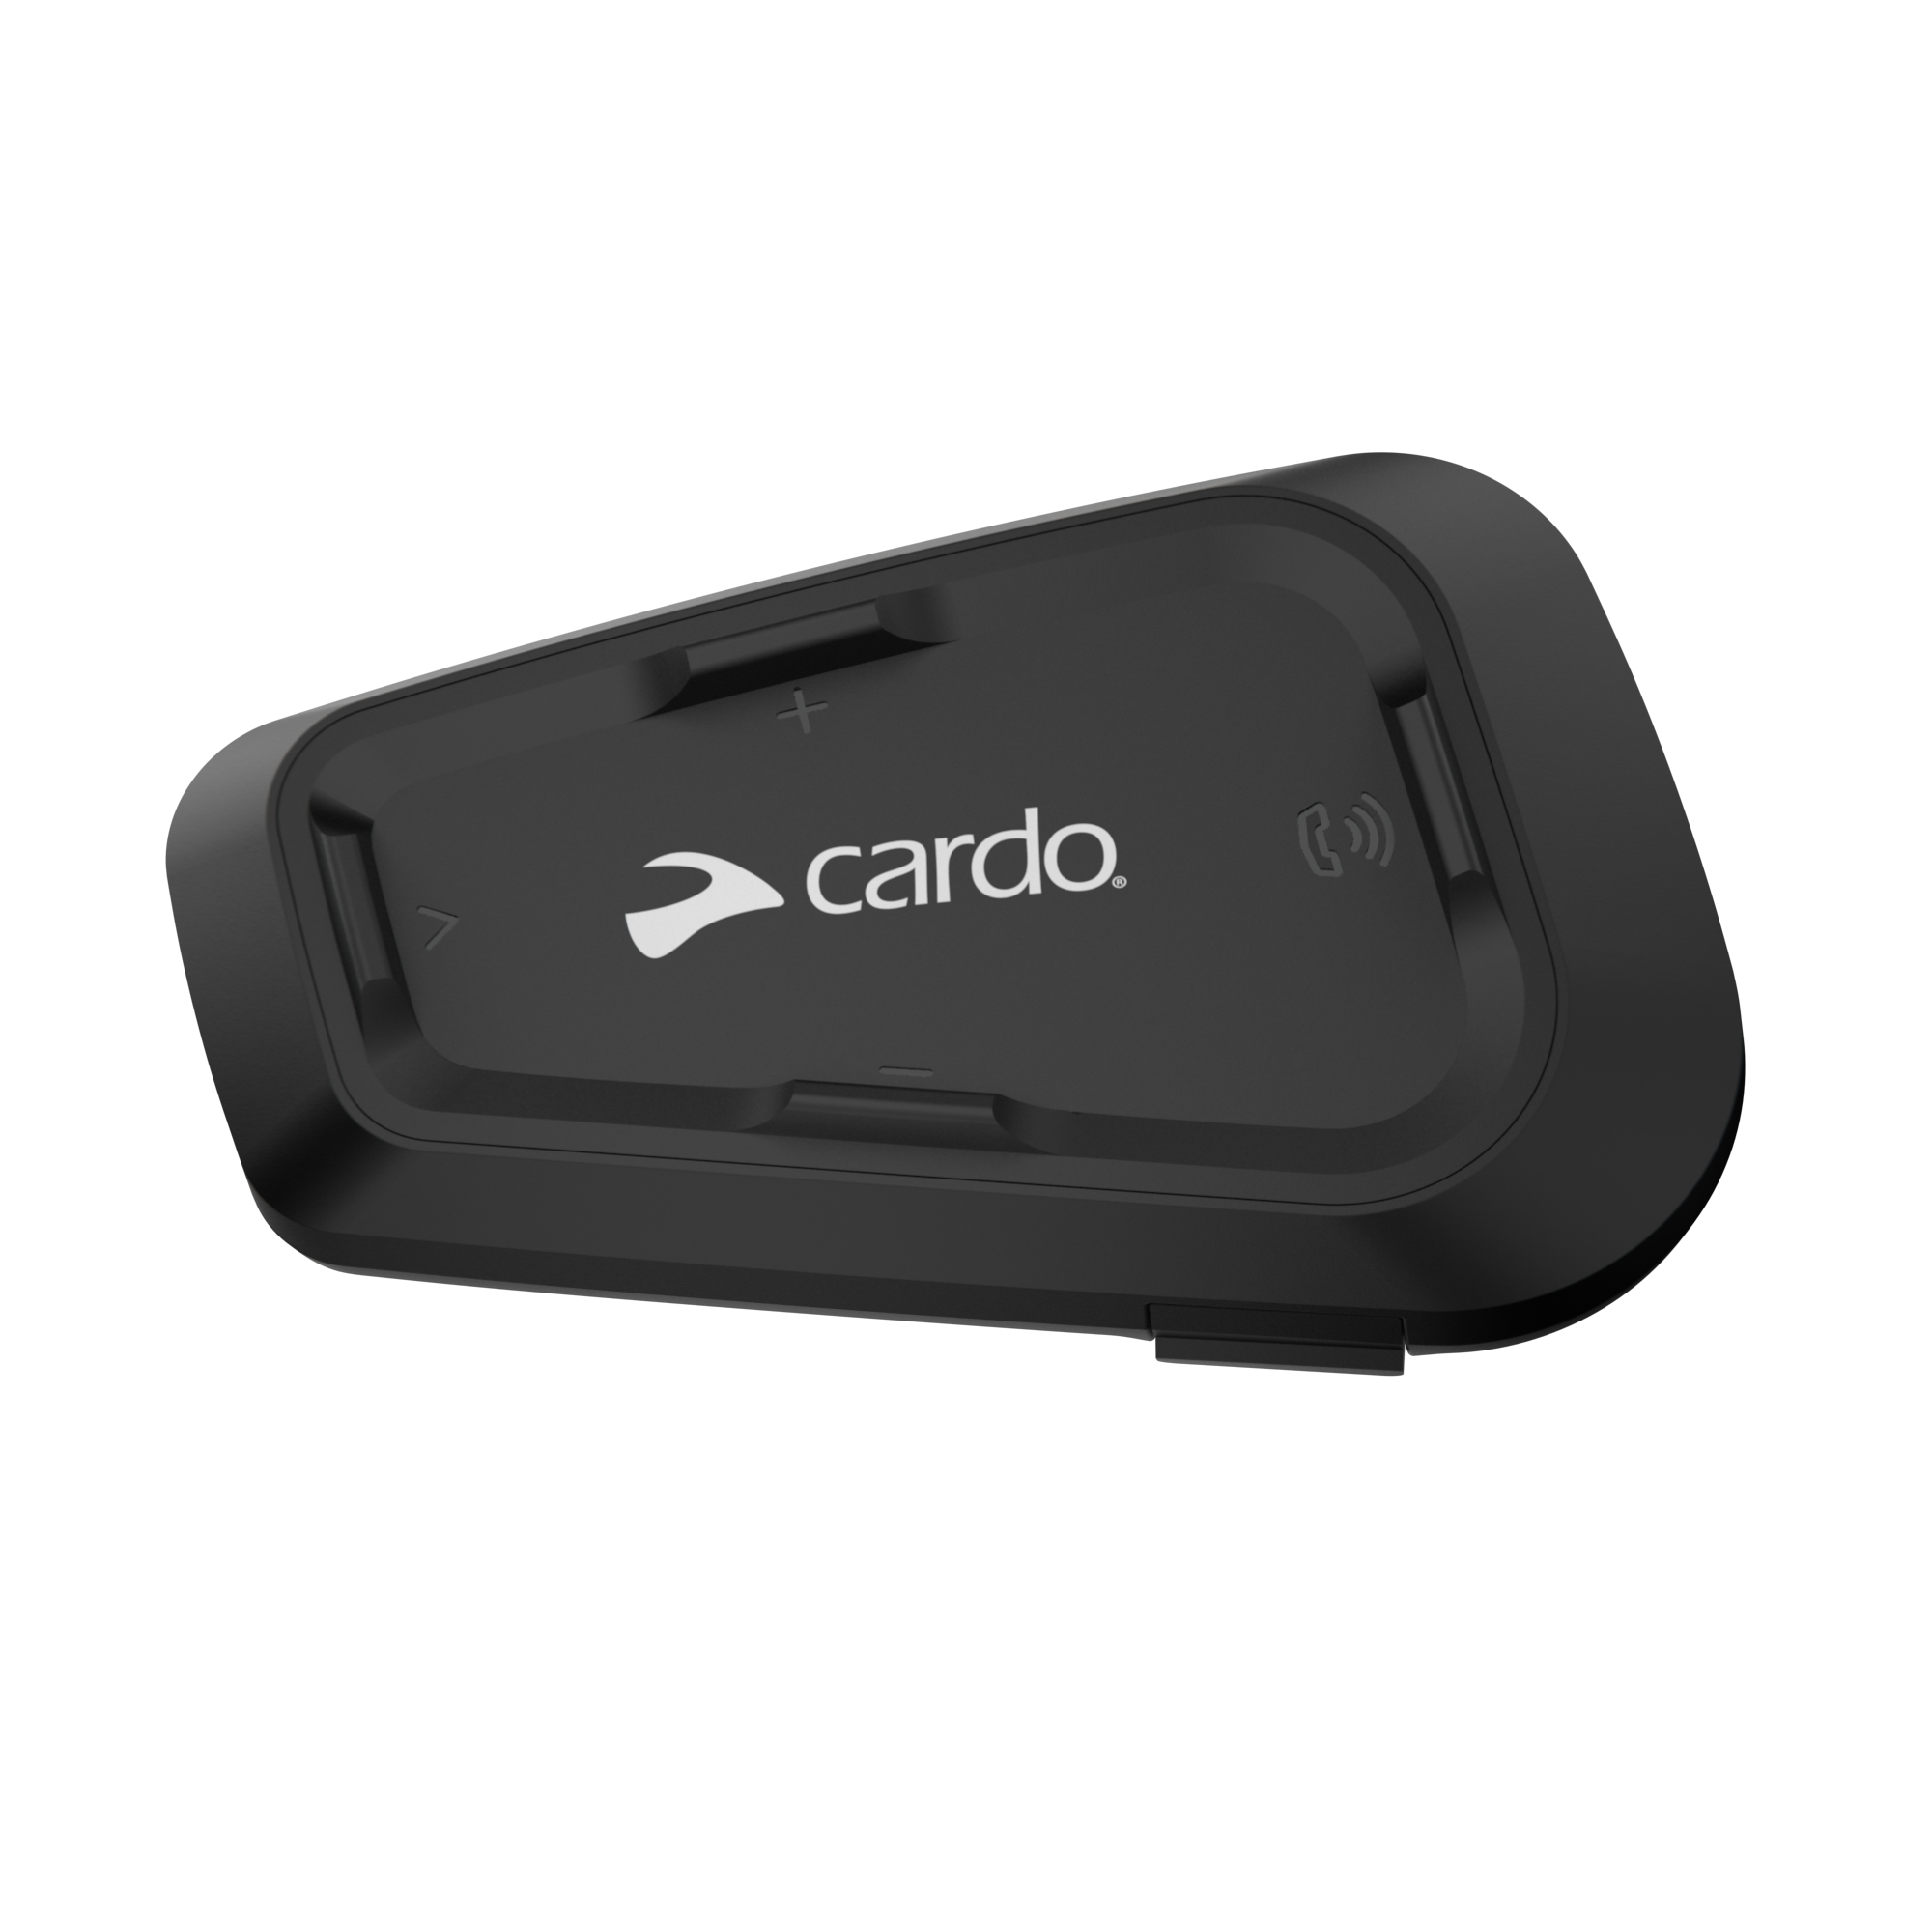
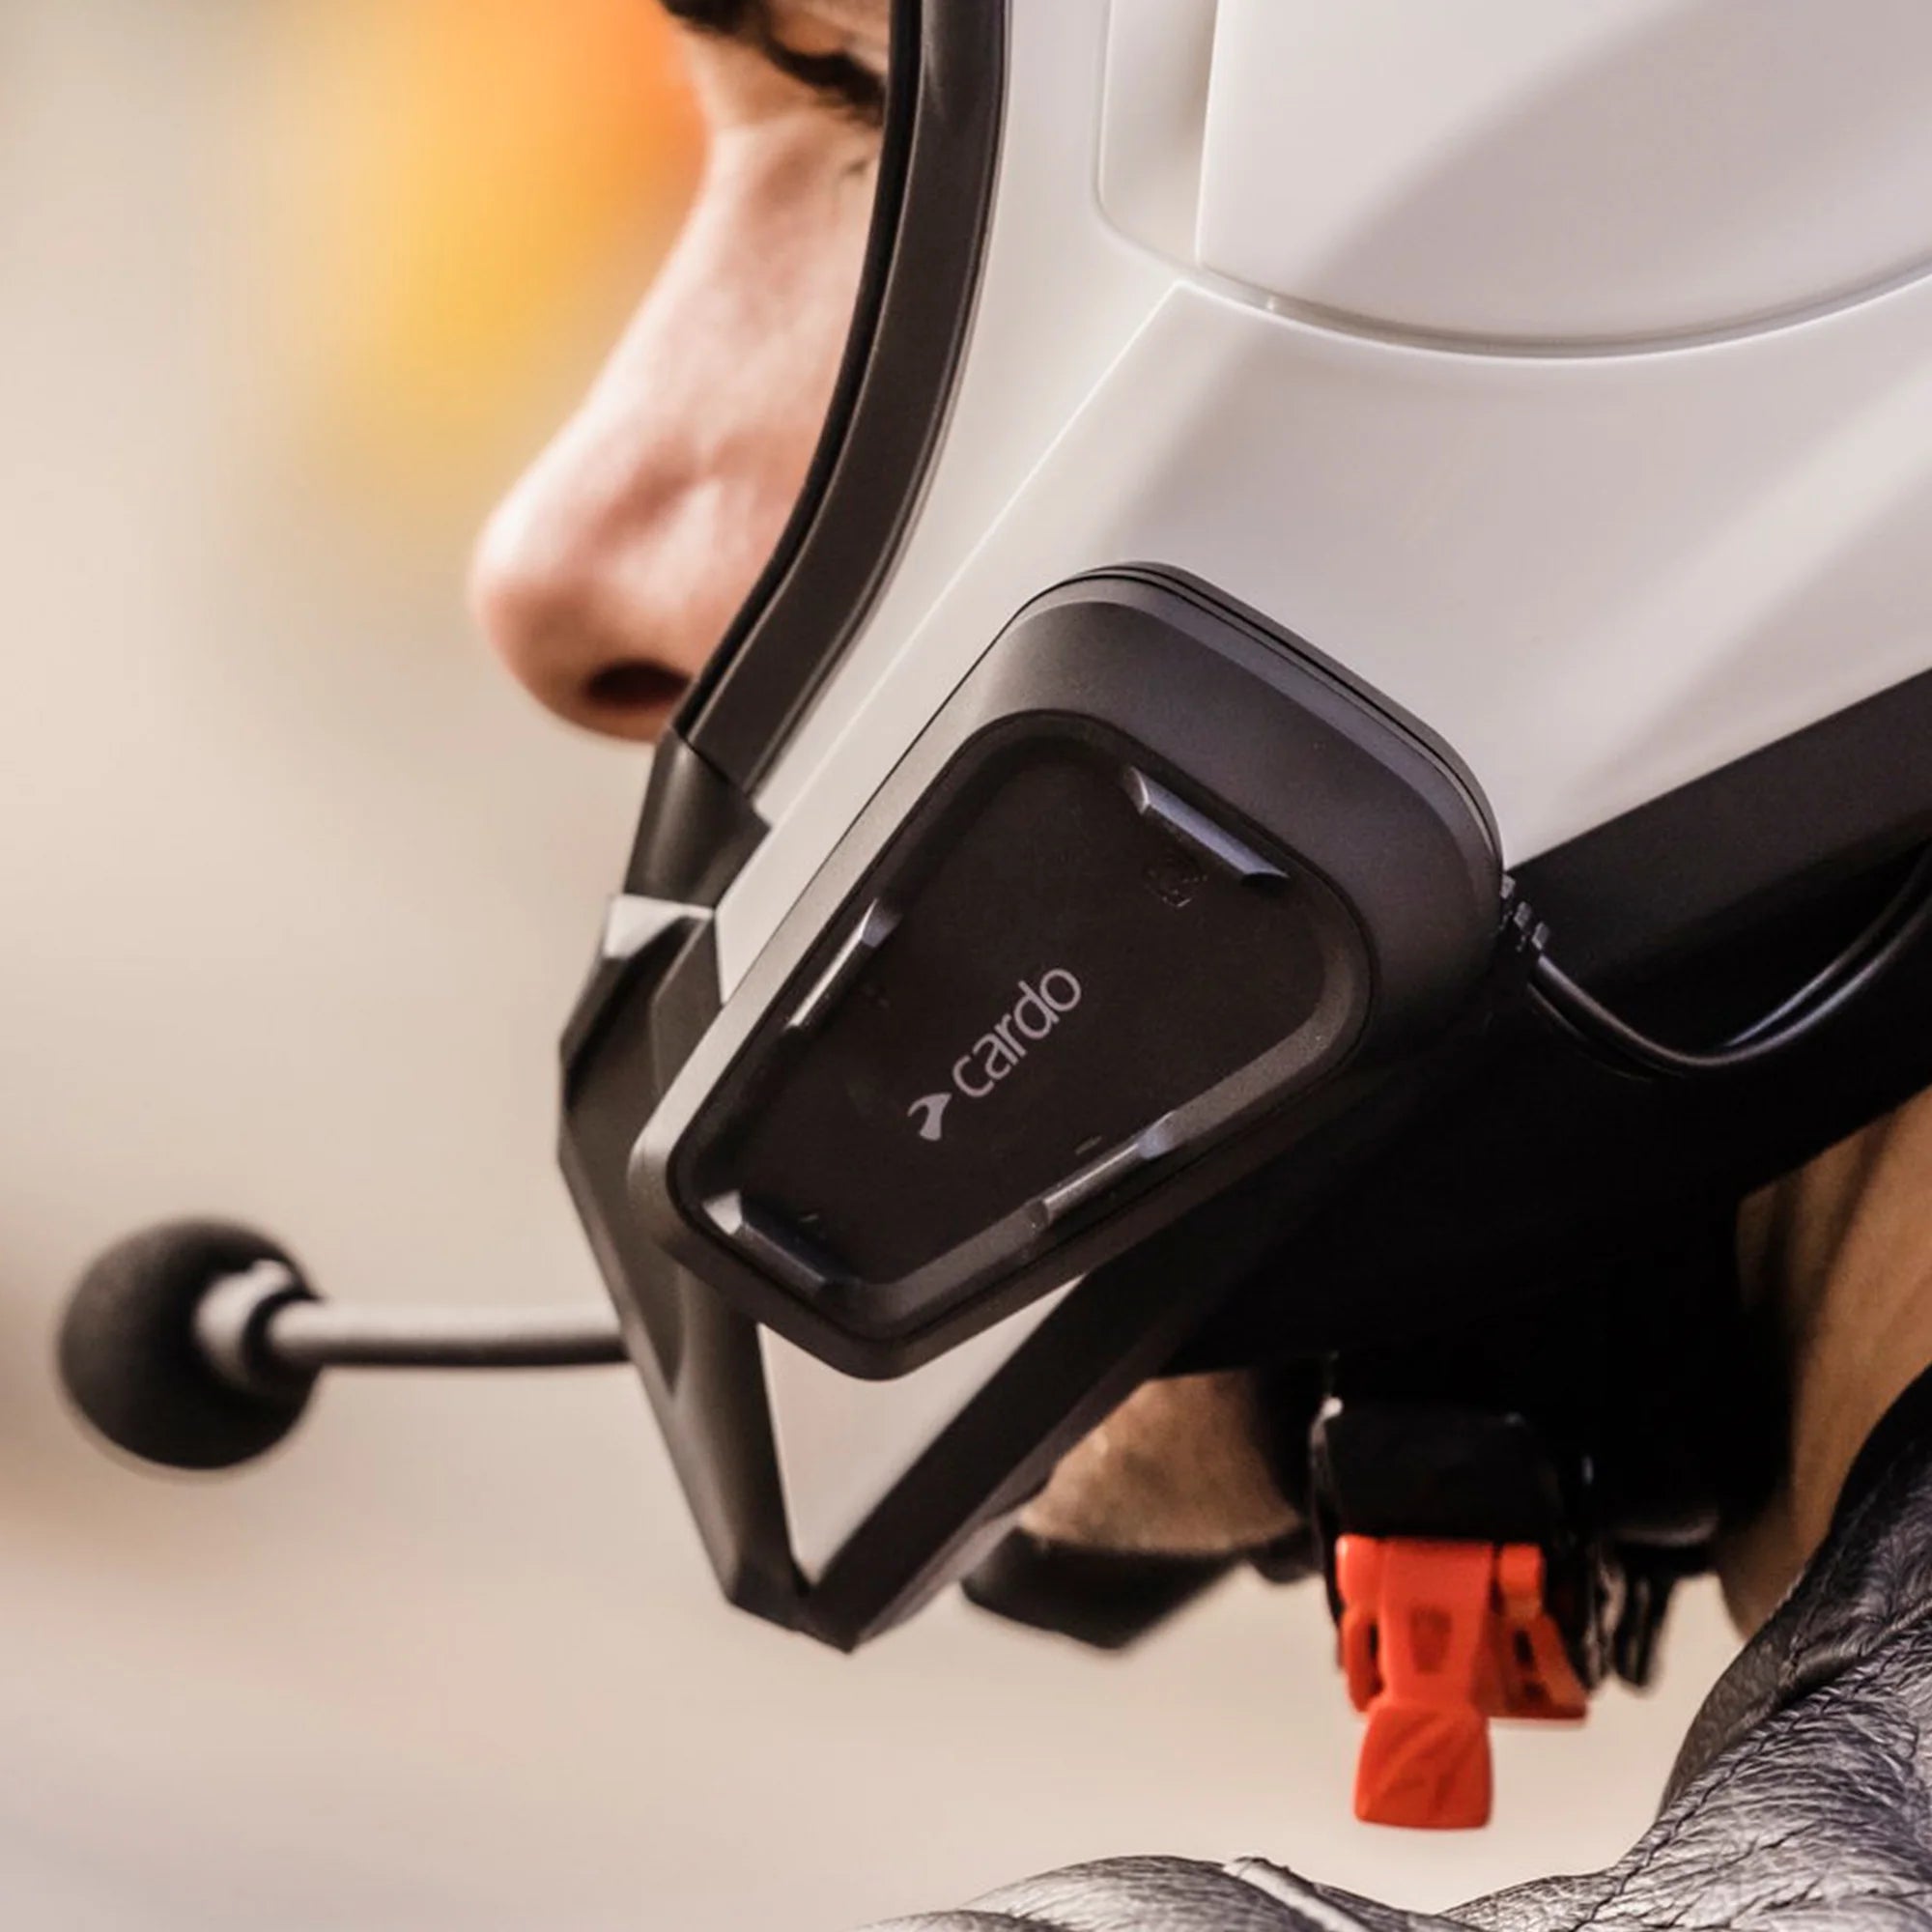
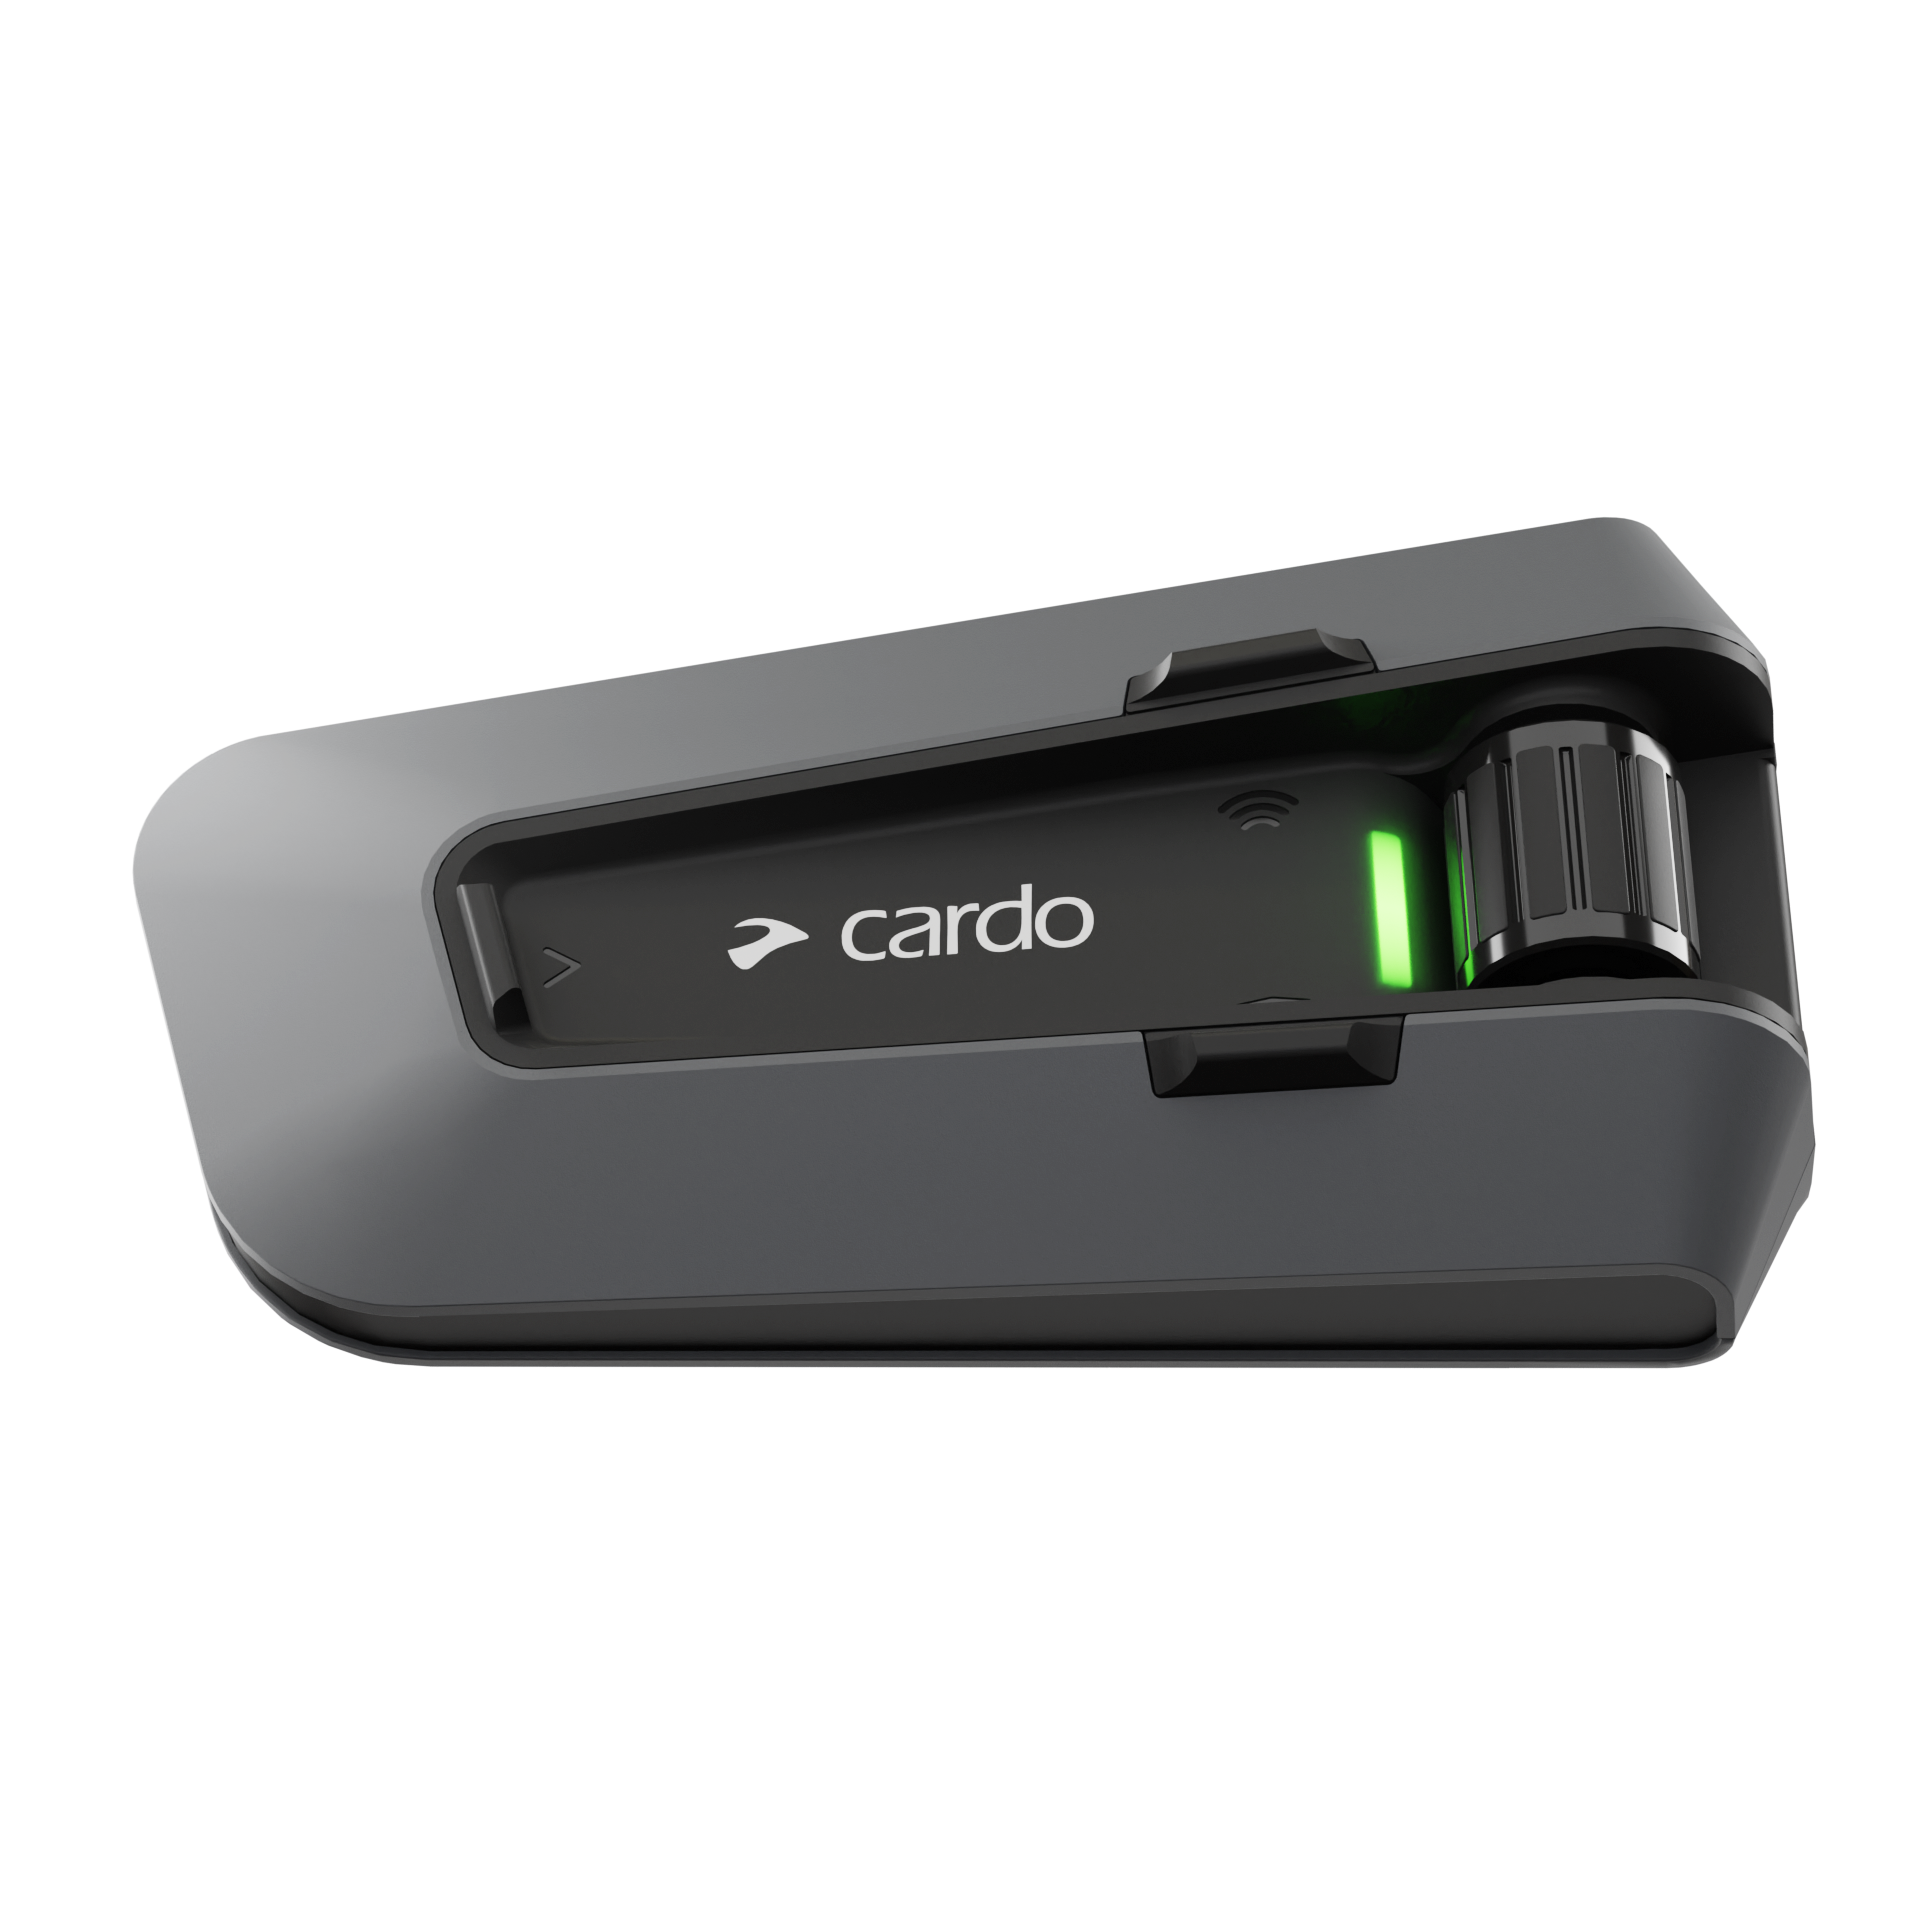
How to Mount the Cardo Unit on Your Helmet
Using the Magnetic Air Mount (PACKTALK EDGE and PACKTALK PRO)
-
Clean the outer surface of your helmet's chin bar area with the alcohol wipe provided.
-
Peel the adhesive backing from the Air Mount base plate and press it firmly onto the cleaned surface.
-
Hold in place for 60 seconds and allow the adhesive to cure for at least 2 hours before use.
-
Attach the unit to the base plate using the magnetic click-in connection.
The Air Mount supports tool-free one-hand unit removal and reattachment, which is convenient for moving the unit between helmets.
Using the Clip Mount
-
Clean the chin bar surface and attach the adhesive base plate as above.
-
Clip the cradle housing onto the base plate until it clicks into place.
-
Insert the main unit into the cradle and press until it clicks securely.
What to Do When the Helmet Rim Is Too Thick: Glue Plate Method
If the standard base plate cannot achieve a flat adhesive contact due to a curved or thick helmet rim, use the glue plate method: apply the base plate using a strong adhesive (not included) rather than the standard adhesive tape, and allow a full 24-hour cure time before attaching the unit. Contact Cardo support for guidance on specific helmet profiles.
Connecting Wires and Reinstalling Helmet Padding
-
Connect the speaker cable and microphone cable to the cradle's input connector.
-
If you have installed a boom microphone, use the cable management clips to route the boom microphone cable neatly along the helmet interior.
-
Reinstall the cheek pads, pressing them firmly into their original positions.
-
Check that no cables are exposed or creating pressure points against the liner.
-
Wear the helmet and check that the speakers are aligned with your ears and the microphone is positioned correctly.
Setting Up Your Cardo Intercom for the First Time
Pairing with Your Phone via Cardo Connect App
-
Download the Cardo Connect app (iOS or Android) and create a free account.
-
Power on your Cardo unit by holding the main button for 3 seconds.
-
On your phone, open Bluetooth settings and select your Cardo unit from the available devices list.
-
Confirm the pairing in the Cardo Connect app.
-
Use the app to configure audio preferences, intercom settings, and to check for available firmware updates.
Over-The-Air Software Updates are delivered via the Cardo Connect app. Install any available updates before your first ride.
Connecting to Other Riders with Dynamic Mesh Communication (DMC)
-
Ensure all riders have Cardo DMC-compatible units powered on.
-
Select Mesh Boost to connect to any Cardo DMC unit in range, or set up a Private Group for a closed group channel.
-
Riders join automatically with Mesh Boost. Private Group requires each rider to join the designated channel.
No manual pairing between individual units is required for DMC mesh. The network forms automatically.
Troubleshooting Common Installation Issues
Speakers Not Fitting Flush
If the speakers will not sit flat against the ear cavity surface, the ear cavity may be shallower than standard. Build up the surface behind the speaker using the thin adhesive foam spacer pads included in the accessory pack, which raise the speaker forward toward your ear. Do not force the speaker into an ill-fitting cavity. For very shallow ear cavities, contact Cardo support for helmet-specific guidance.
Unit Not Pairing with Phone
Ensure the unit is in pairing mode (flashing LED). Delete the Cardo device from your phone's Bluetooth list and attempt to pair again from scratch via the Cardo Connect app. Ensure the app has Bluetooth and location permissions enabled. If pairing still fails, perform a factory reset by holding the main button and volume up simultaneously for 10 seconds.
Cradle or Mount Feels Loose
A loose mount is usually caused by insufficient adhesive cure time or a surface that was not fully cleaned before application. Remove the base plate, clean the helmet surface thoroughly with an alcohol wipe, apply a new base plate, and allow a minimum of 2 hours cure time before attaching the unit. If the rim profile is curved, use the glue plate method described above.
Which Cardo Intercom Is Right for Your Helmet?
|
Helmet Type |
Recommended Unit |
Microphone Type |
Mount |
|---|---|---|---|
|
Full-face |
Wired microphone |
Air Mount |
|
|
Modular / flip-front |
PACKTALK EDGE or PACKTALK PRO |
Boom microphone |
Air Mount |
|
Open-face |
PACKTALK EDGE or PACKTALK PRO |
Boom microphone |
Air Mount |
|
Half helmet |
PACKTALK EDGE or PACKTALK PRO |
Half Helmet Kit (boom) |
Adhesive |
|
Shoei NEOTEC 3 / GT-AIR 3 |
PACKTALK EDGE or PACKTALK PRO |
Boom (adapter included) |
Shoei Adapter Gen 3 (sold separately) |
How to Install an Intercom in a Motorcycle Helmet - FAQs
How long does it take to install a motorcycle helmet intercom?
Most riders complete a full installation in 15 to 30 minutes. The process is tool-free for the majority of helmet types. The main steps are: cleaning the ear cavities, attaching velcro speaker pads, routing the cables, fitting the microphone, and mounting the unit. Allow an additional 2 hours after attaching the adhesive base plate before riding, so the adhesive can cure fully.
Do I need any tools to install the PACKTALK EDGE or PACKTALK PRO?
No tools are required for standard installation on full-face, modular, and open-face helmets. The speakers attach via velcro, the microphone clips or adheres into place, and the unit clicks into the Air Mount magnetically. The only exception is the glue plate method, used for helmets with a thick or curved rim, where the standard adhesive tape cannot achieve flat contact. In that case, a strong adhesive (not included) replaces the standard tape, and a 24-hour cure time is required before riding.
What is the difference between the boom microphone and the wired microphone, and which do I need?
The wired microphone is a flexible cable with the microphone element at the end. It is designed for full-face helmets, where the enclosed chin bar holds it in position close to the mouth. The boom microphone is a rigid arm that keeps the microphone element in a fixed position regardless of movement. It is the correct choice for modular and open-face helmets, where there is no enclosed chin bar to hold a wired microphone in place, and for half helmets using the Half Helmet Kit. Your helmet type determines which to use: if you have a full-face helmet, use the wired microphone. If you have a modular, open-face, or half helmet, use the boom microphone. Both are included in the box with the PACKTALK EDGE and PACKTALK PRO.
Can I install a Cardo intercom on a half helmet?
Yes, but the standard installation kit is not compatible with half helmets. You will need the separate Half Helmet Kit, which includes a boom microphone and adhesive mount designed specifically for the half helmet profile. The boom microphone attaches to the chin area, and the cable is routed along the helmet's inner surface using the cable clips included in the kit.
What should I do if my speakers do not sit close enough to my ears?
If your helmet's ear cavities are deeper than standard, the speakers may sit too far from your ears to deliver clear audio. Use the speaker spacer pads included in the accessory pack and attach a spacer behind each speaker to raise it forward toward your ear. Wear the helmet briefly after fitting the spacers to confirm the position before routing cables and reinstalling the cheek pads. For very shallow ear cavities where the speakers will not sit flat, contact Cardo support for helmet-specific guidance.
How long does the adhesive need to cure before I can ride?
Allow a minimum of 2 hours after attaching the standard adhesive base plate before riding. If you have used the glue plate method, which is required for helmets with a curved or thick rim where standard adhesive tape cannot achieve flat contact, allow a full 24 hours before attaching the unit and riding. Fitting the mount in moderate temperatures helps the adhesive bond correctly from the start. Avoid installation in very cold or very hot conditions.
How do I pair my Cardo unit with my phone after installation?
Download the Cardo Connect app, available for free on iOS and Android, and create an account. Power the unit on by holding the main button for 3 seconds. Open your phone's Bluetooth settings, select your Cardo unit from the available devices list, and confirm the pairing in the Cardo Connect app. Use the app to configure audio settings, set up intercom preferences, and install any available firmware updates before your first ride. For DMC group riding, no manual pairing between units is required. Use the unit’s DMC/Mesh Boost setup flow to connect with other Cardo DMC-compatible riders, or create a Private Group for a closed group channel.